

Blog
Planning Your First Fishing Trip- Preparation Is Key!

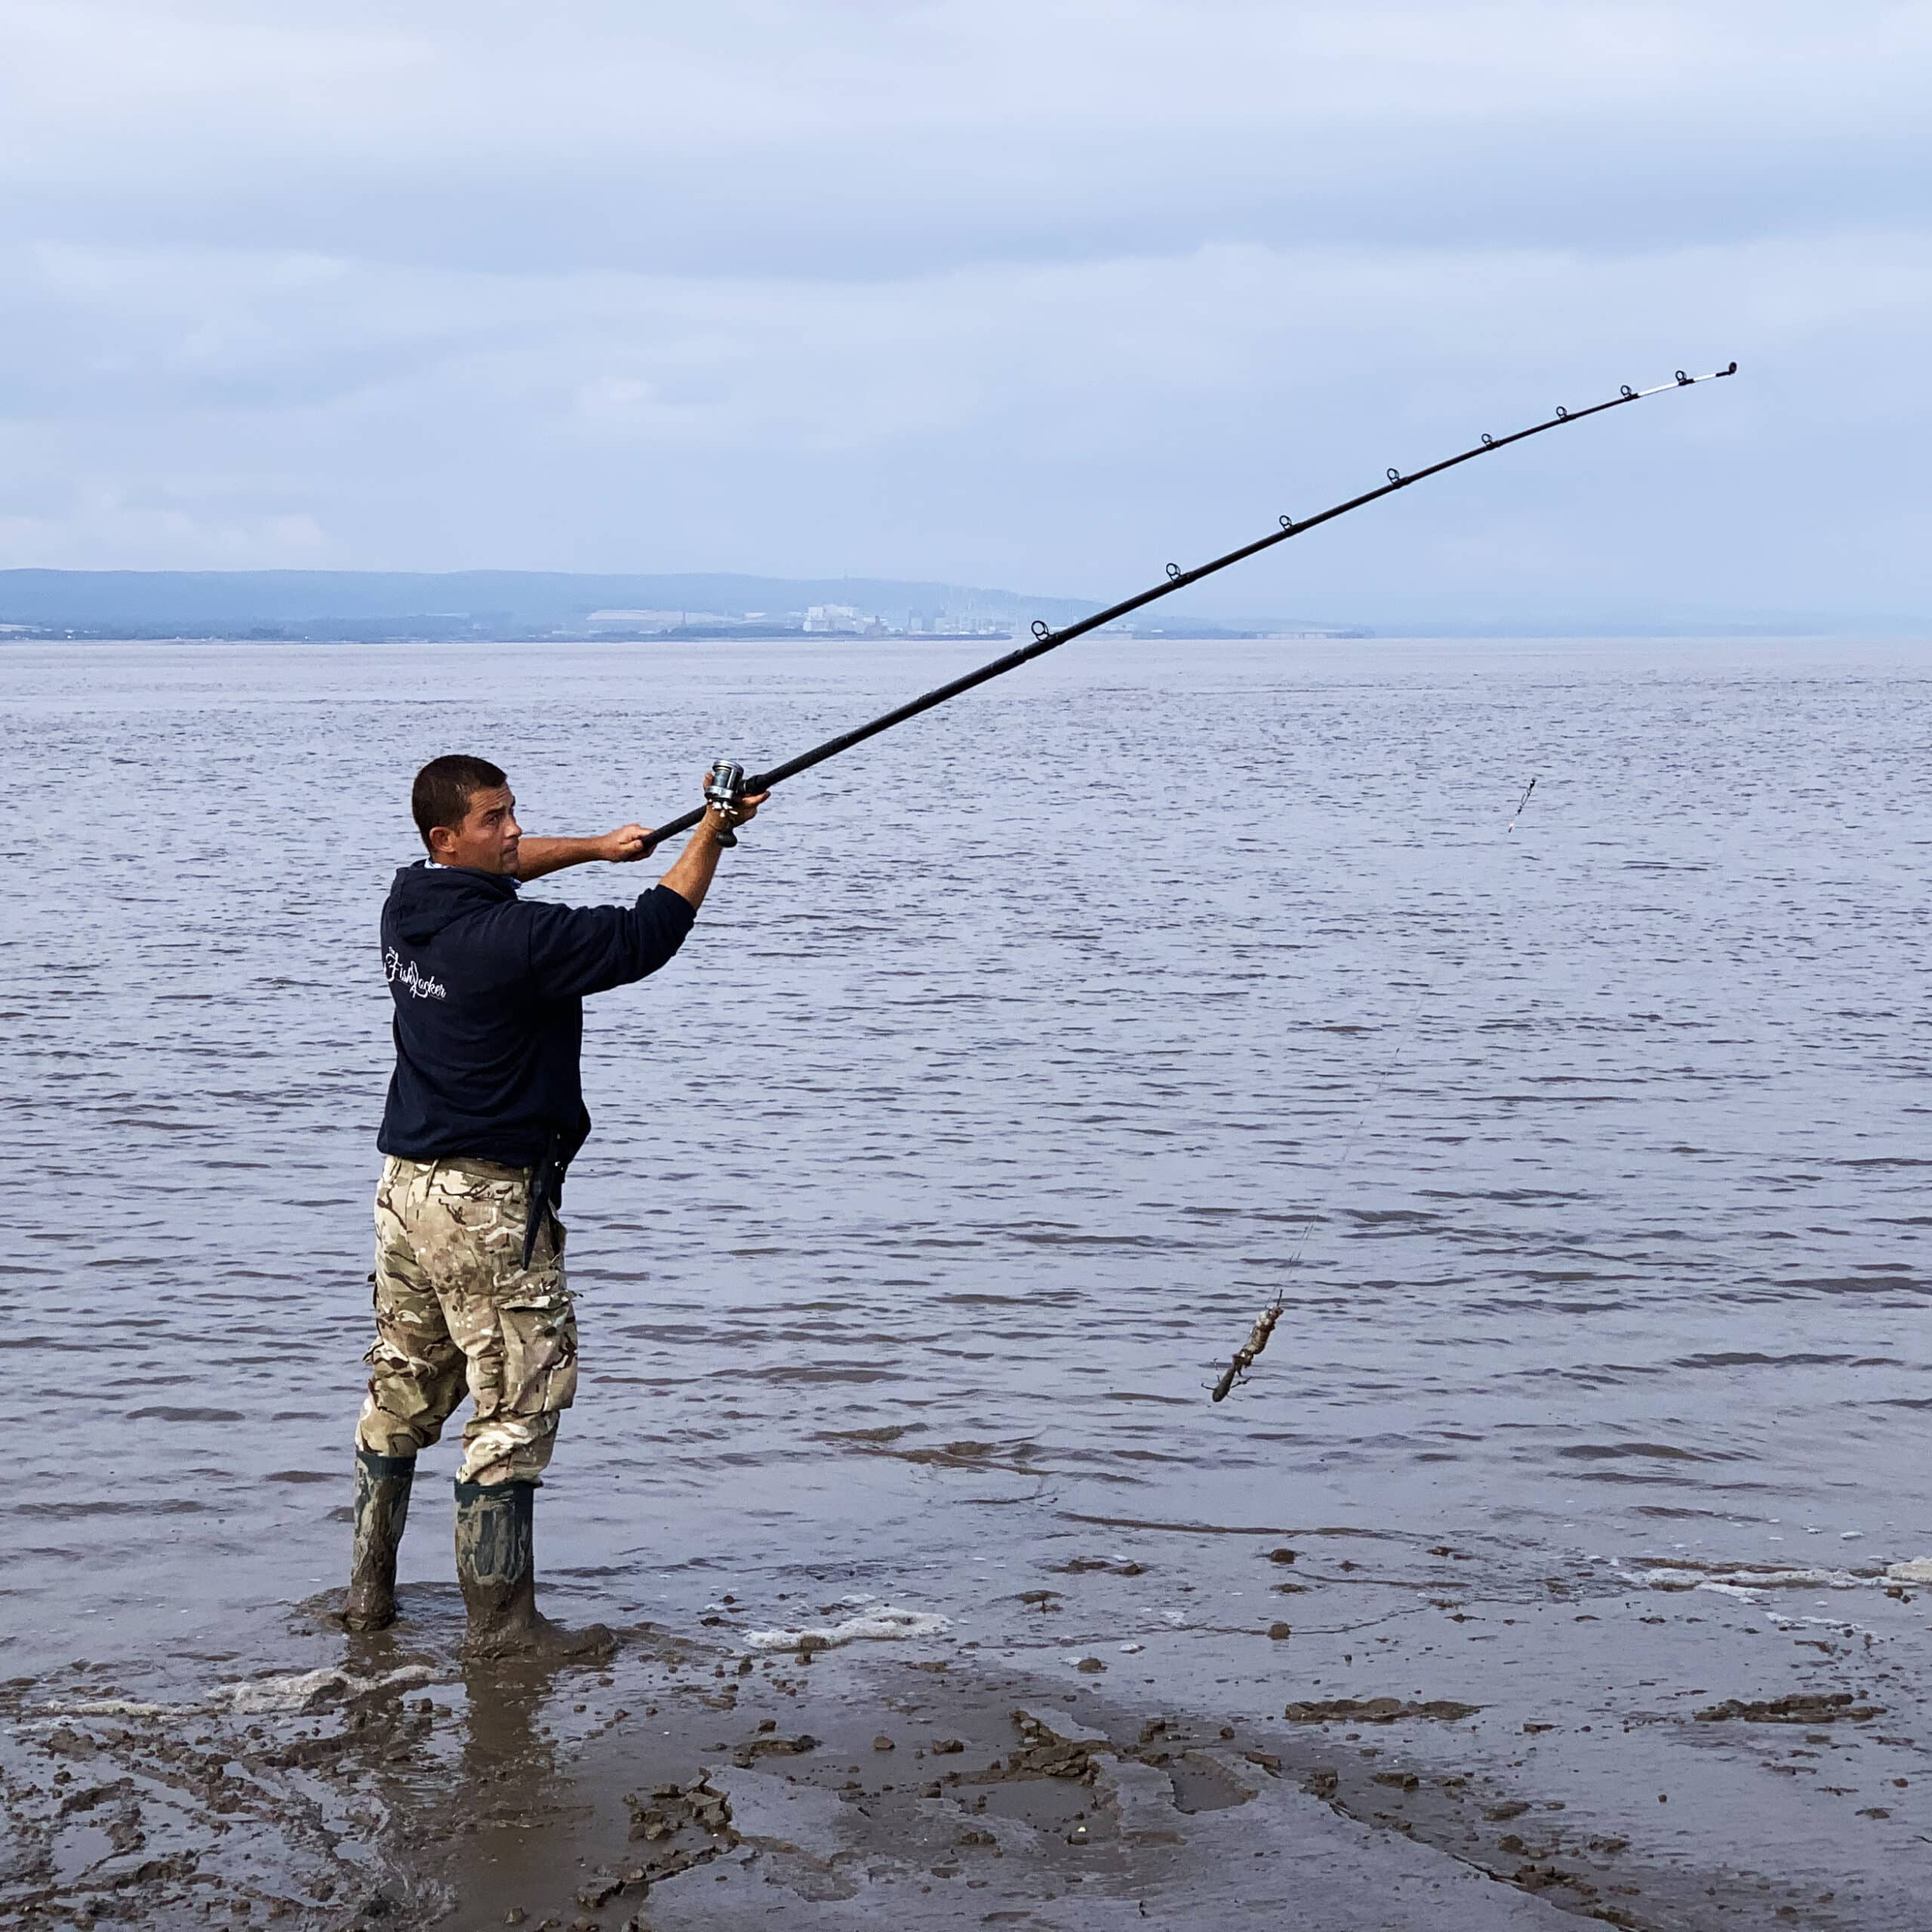
They say that preparation is key and when it comes to planning your first sea fishing trip, that really is the case. Hurriedly grabbing your rods and what you think you might need is likely to lead to all kinds of issues. Will the tide even be in when you get there?
Jansen Teakle walks you through a few simple checks that will ensure that the new sea angler has all the bases covered.
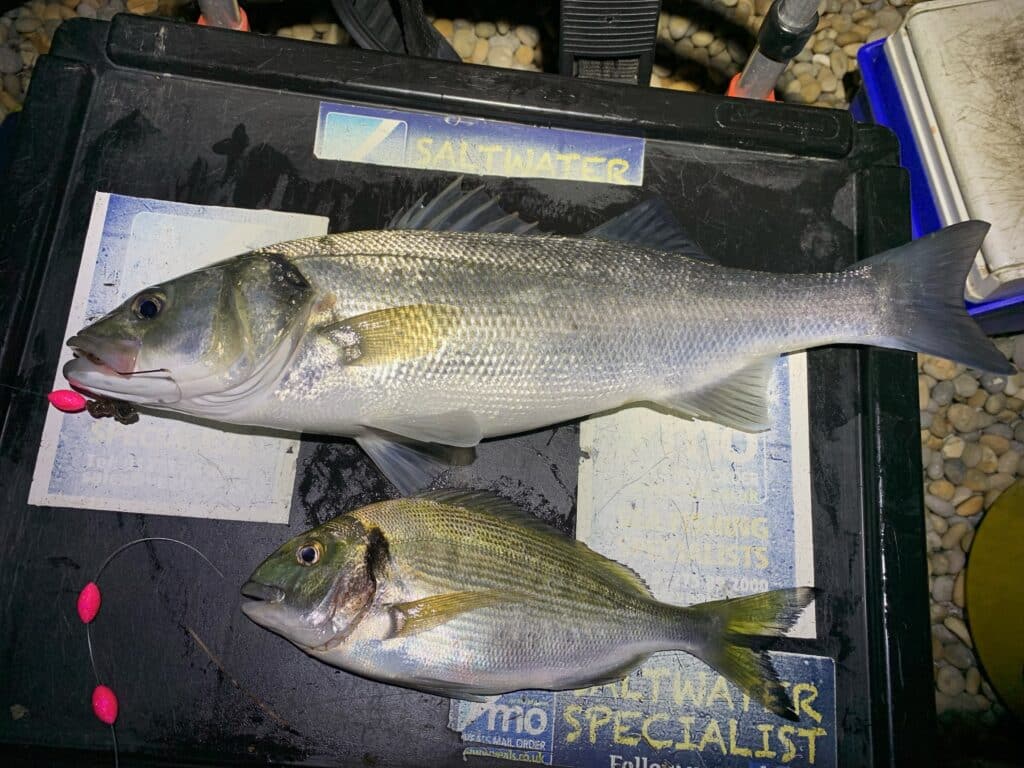
Forward thinking and backwards planning (You’ll find an example of this at the bottom of this post!) are the recipe for a successful shore fishing session and by implementing a few simple checks, you’ll stand a far greater chance of success when you hit the coast. The whole experience is likely to be far more enjoyable if you catch a fish or two and I still believe that this is key when it comes to getting ‘the bug’.
But where do we even begin?
There is one crucial thing that no sea angler should be without and it’s my very first consideration when I’m planning a fishing session and it’s not an item of tackle, clothing or even bait.
It’s a tide table. If you’ve only ever visited the coast on day trips or family holidays, you may not be familiar with the tidal cycle and if you intend to spend some time by the water going forward, it’s crucial to get your head around the tides. Tide tables are widely available online, but better still purchase a physical copy for the area you intend to fish. Tide tables will be for a specific port, but by adding or subtracting minutes you’ll be able to assess the high and low water times further along the coast. Each 24 hour period will see two high waters and two low waters, each falling approximately 6 hours apart. Research your chosen venue and find out whether it is fished over high water or low water, then work the hours back to maximise your fishing time.
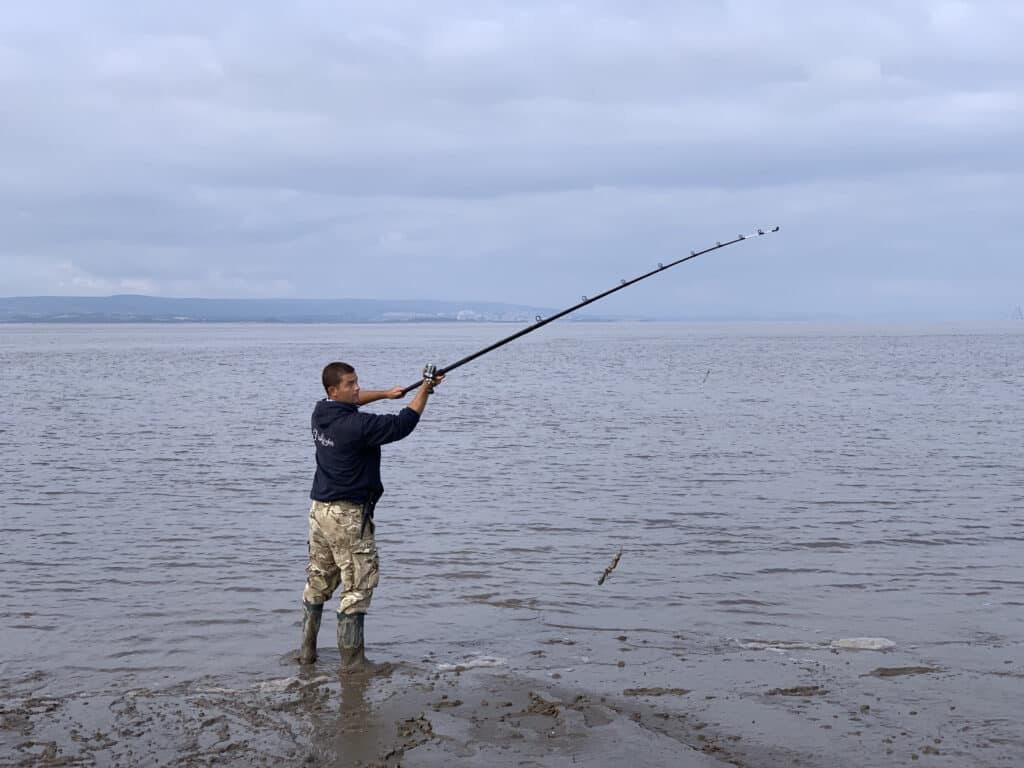
For example, if the venue you want to fish is best fished over high tide and high water is at 10am, aim to arrive at 8am and fish until midday. This will give you a four hour window. Take in to account your journey time, again by ‘working backwards’, so that you arrive in plenty of time.
So we’ve established that familiarity with a tide table is vitally important, but what’s next?
When you know where you will be fishing, you’ll know the fish that you’ll be likely to encounter and so know which baits you will need. When planning ahead, bait should be a big part of your preparation and having the right stuff will make all the difference.
Most bait shops have one or two deliveries of live bait (generally lugworm, ragworm and peeler crab) once or twice a week, so phoning them early in the week leading up to your session to reserve your bait for the weekend is important. A healthy friendship with a bait shop is a good thing to have, as if you’re regularly spending a few quid with them they’ll likely impart some great information on how different venues might be fishing.
That’s a venue chosen and bait ordered, so where do we go from here?
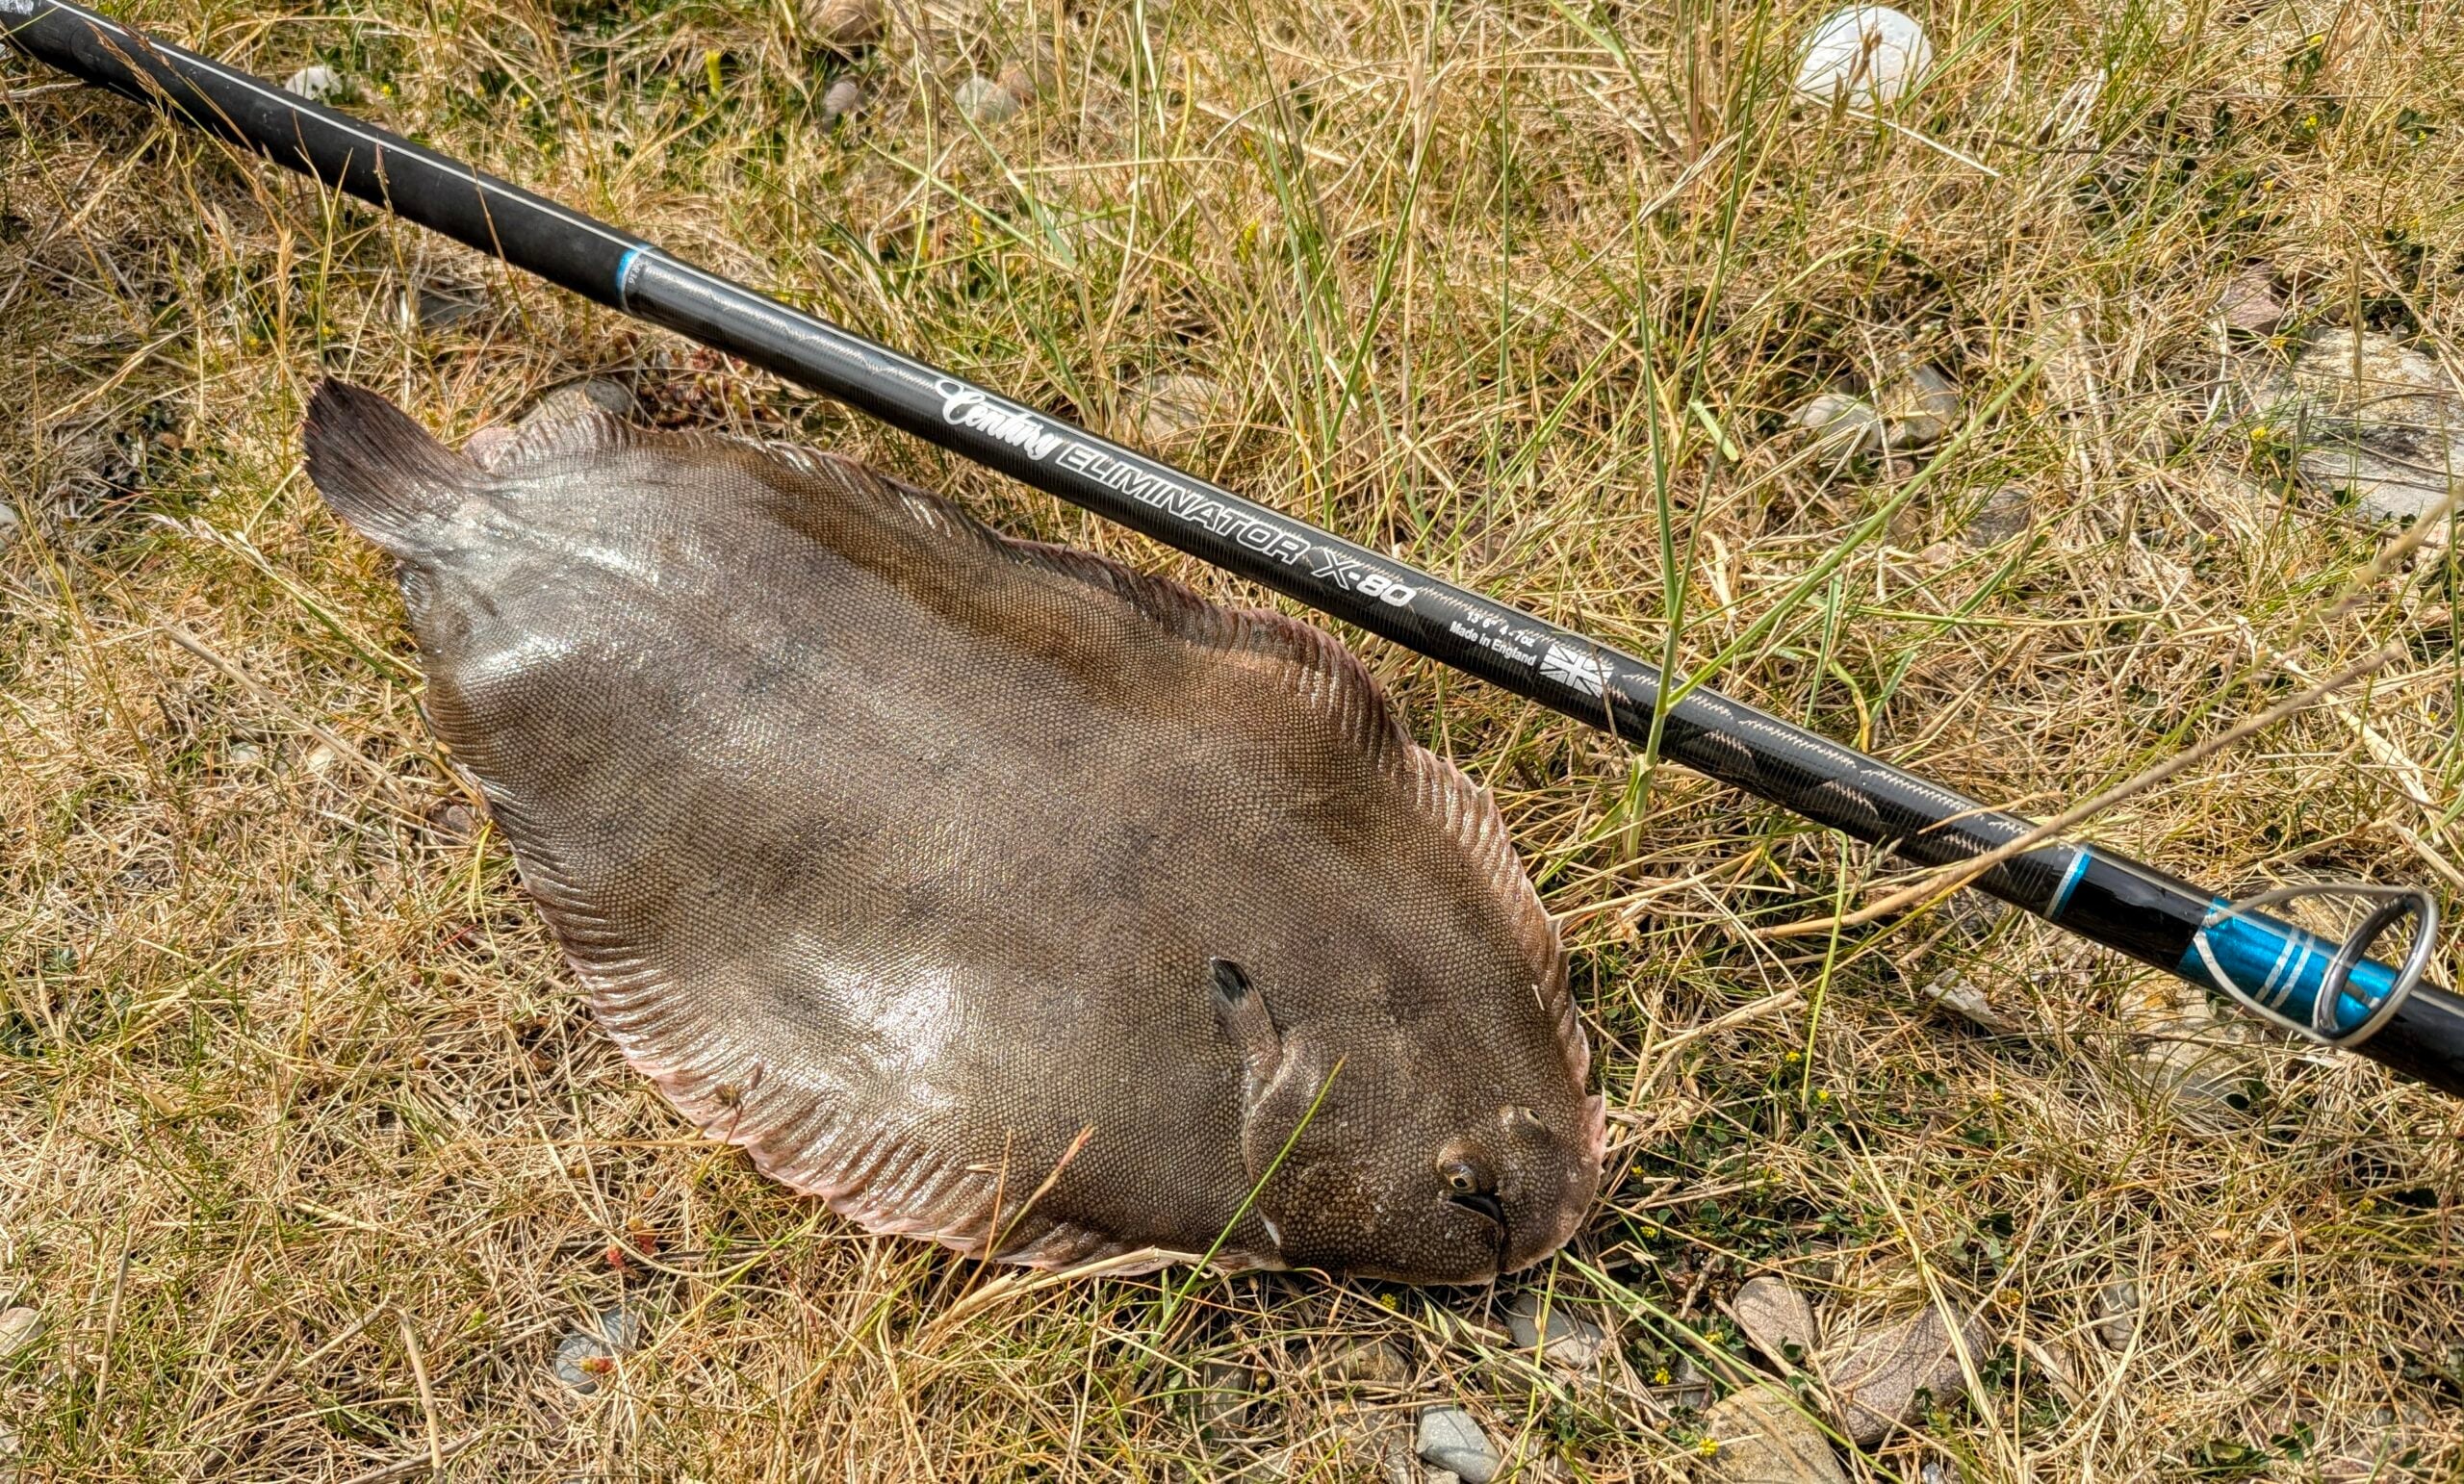
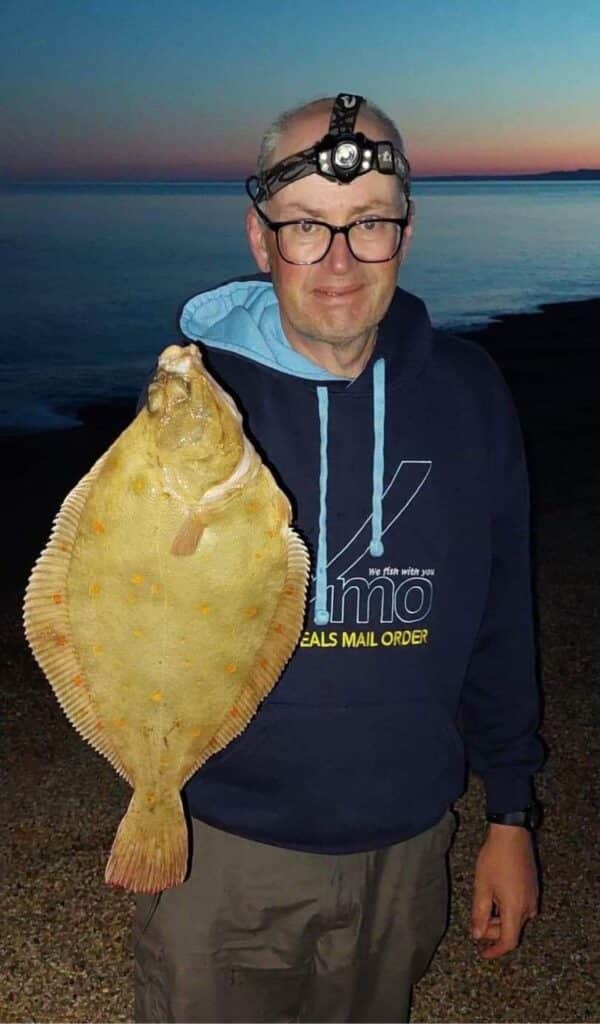
As we know the venue, know the species and know the baits that will likely catch them, we can now look at rigs. Hook size is important- match it to the bait and species. As an example, say you’re visiting Chesil Beach and you intend to target plaice so you’ve ordered ragworm for bait.
Small hooks, around a size #1, fished on a streamlined rig that will offer some extra casting distance would be a great option. A two hook clipped down rig would be ideal. Consider how many rigs to take with you though. If you take just the one, a casting mishap could see you lose it, as could an underwater snag, so having several ready to go is good practice. Remember too, that once you have cast out, in order to save time it is is very effective to bait a second rig and have it hanging on your tripod so that when you wind in, you can clip off the rig that has been fishing, clip the freshly baited rig on and cast straight back out. If it takes five minutes to bait a rig, and you have ten casts in a session, that’s the best part of an hour where you would otherwise have had a bait out of the water. It really is about maximising your fishing time!
So rigs are tied, what’s next?
Leads need to be packed. Consider the weight and style of your chosen sinkers. If a long walk is on the cards, you might not want to go crazy, but provided the venue is a clean one and free of sea bed snags, six leads should suffice. Things to think about- How strong will the tide be? Will the wind be onshore and if so, how strong? A selection of different types, for example 2 x 5oz wired leads, 2 x 6oz wired leads and 2 x 5oz plain leads should see most angles covered.
End tackle as described above is very important and is always my primary concern when planning a session.
But when it comes to rods and reels, where do we begin?
Ensure that your reels are loaded with appropriate line. On a clean venue, light lines will offer more casting distance, but on snaggier marks, a heavier main line has to be used.
Check your reel’s line for any scuffs or general wear and tear. If it appears to have lost any colour, has become brittle, springy or dry, it’s probably time to change it. A fresh shock leader should be tied to your reel for every new session, as it is this that takes the brunt of the work. Double check that leader knot too. A quick release clip should tied to the end of your shockleader to facilitate the swapping of rigs on the beach. It’s bad practice to tie a rig straight on and have to cut it off with scissors when you’re done.
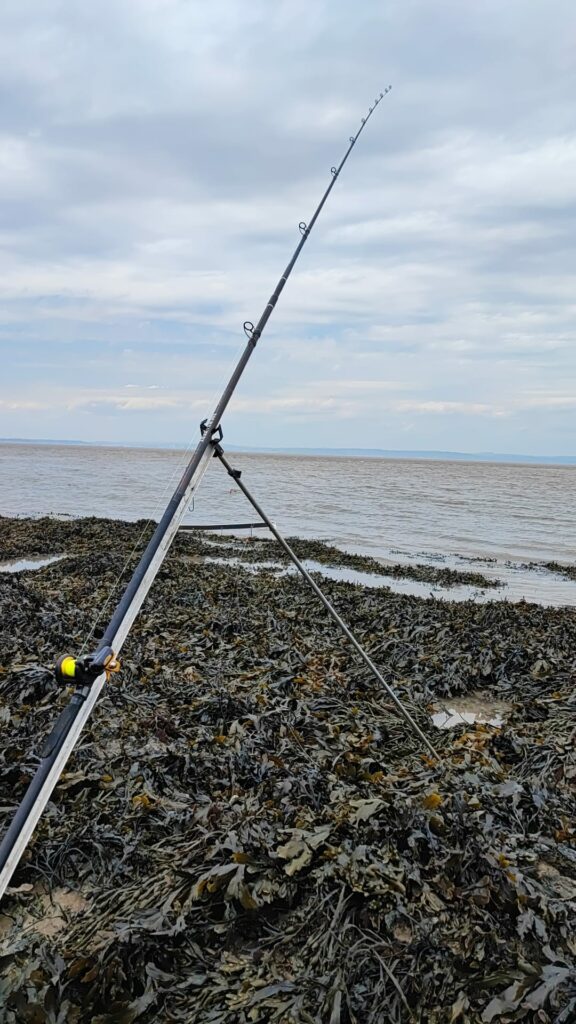
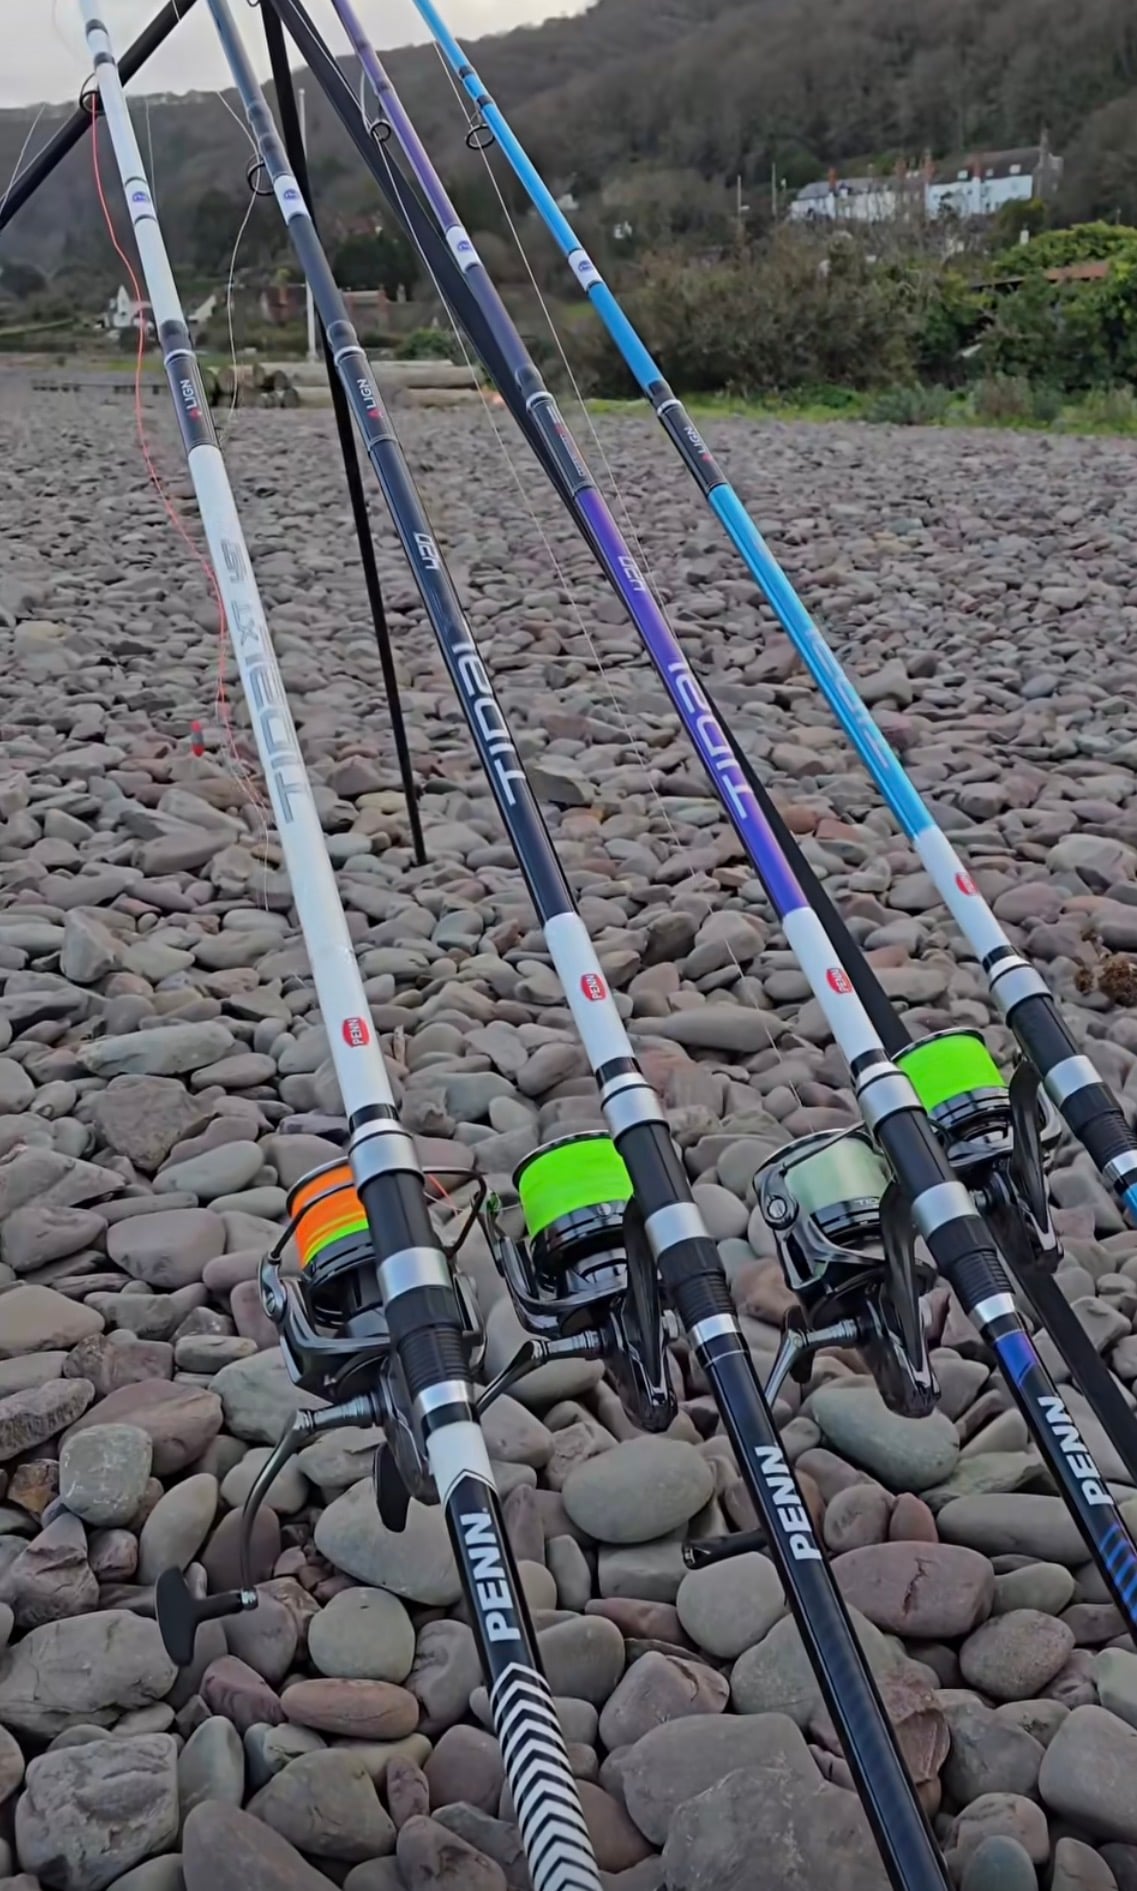
Check your rod over, pay close attention to the guides and ensure there are no chips or fractures. These will severally damage your mainline if damaged and should be replaced as soon as possible if this is the case. Check the reel seat functions as it should and perhaps even give it a quick spray of WD40 or similar.
Load your seat box or rucksack the night before and get in to the habit of putting everything in the same place so that you become familiar with its location. Keep it organised.
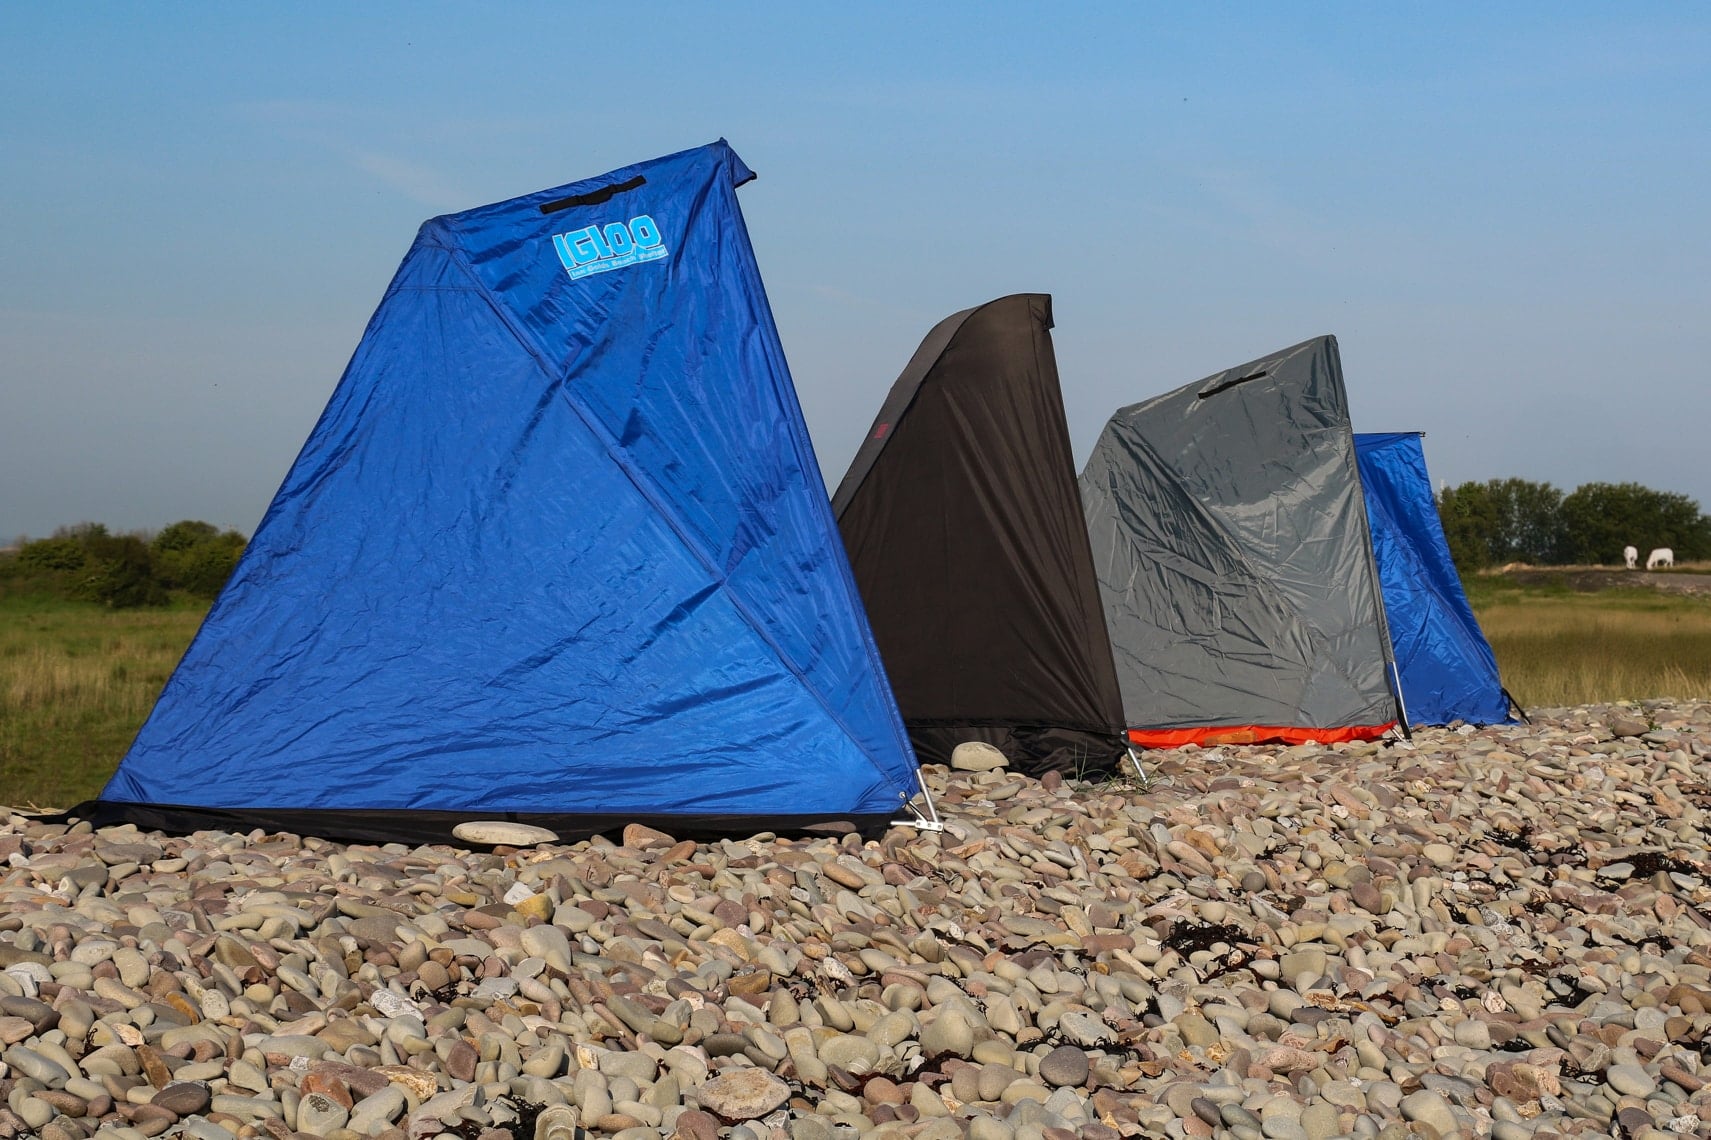
Load up your rod holdall too, remembering to add your tripod, beach shelter and anything else that might be required such as a landing net, depending on where you might be fishing.
Have everything ready to go, including a cool box that will be used to transport your bait when you collect it from the tackle shop in the morning.
Assemble your clothing- Is it going to rain? Will it be cold?
Check the forecast and assess what clothing you will need, not forgetting footwear options. If you’re going to be fishing on a shingle beach, trainers will be as good as anything, but if you’re out on the rocks, sensible boots with good grip are important from a safety perspective.
Finally, don’t do what I do and get so enthusiastic about the fishing side of things that you neglect food and drink. A busy fishing session can take it out of you, so leave room in your box for sarnies and a drink!
Working it back, the basics-
10am Saturday morning- high water.
8am Saturday morning- arrive at beach.
7.30am Saturday morning- collect bait.
7am Saturday morning- load car and set off.
Friday evening prior- check weather.
Thursday evening prior- make rigs.
Wednesday evening prior- general tackle check.
Tuesday prior- order bait to collect Saturday.