Blog
Rig Making – Everything You Need To Know
That is absolutely fine, and let’s face it, some of the shop bought rigs available now are of a fantastic quality and tied by knowledgeable anglers who know exactly what they’re doing, so using them as a template makes perfect sense.
There is much talk of rigs online, with many different designs claiming to be the best thing since sliced bread, but when you have your components and a pattern in mind, where do you actually start?
Jansen Teakle explains how he goes about making his favourites.
Rig making is a valuable skill for any sea angler, and chances are that if you have been buying shop bought rigs for some time, you may be considering replicating your favourites.
Not only will making your own rigs save you a packet in the long term, it also provides a very therapeutic few hours after a day at work and can be hugely satisfying when you make a catch on something you have made yourself.
So, where do we begin?
All rigs can be broken down in to two pieces- the body and the snood(s). I like to plan exactly what I’m making and allocate time accordingly.
My primary rig is a pulley, so my first priority will be to ensure I have all of the components to make a batch before I start. Depending on how many I have lost in recent sessions, I will usually plan to make 20 rigs throughout the week, or maybe ten days. I never let my rigs run right down though and so will always have something in reserve should an unforeseen opportunity present itself.
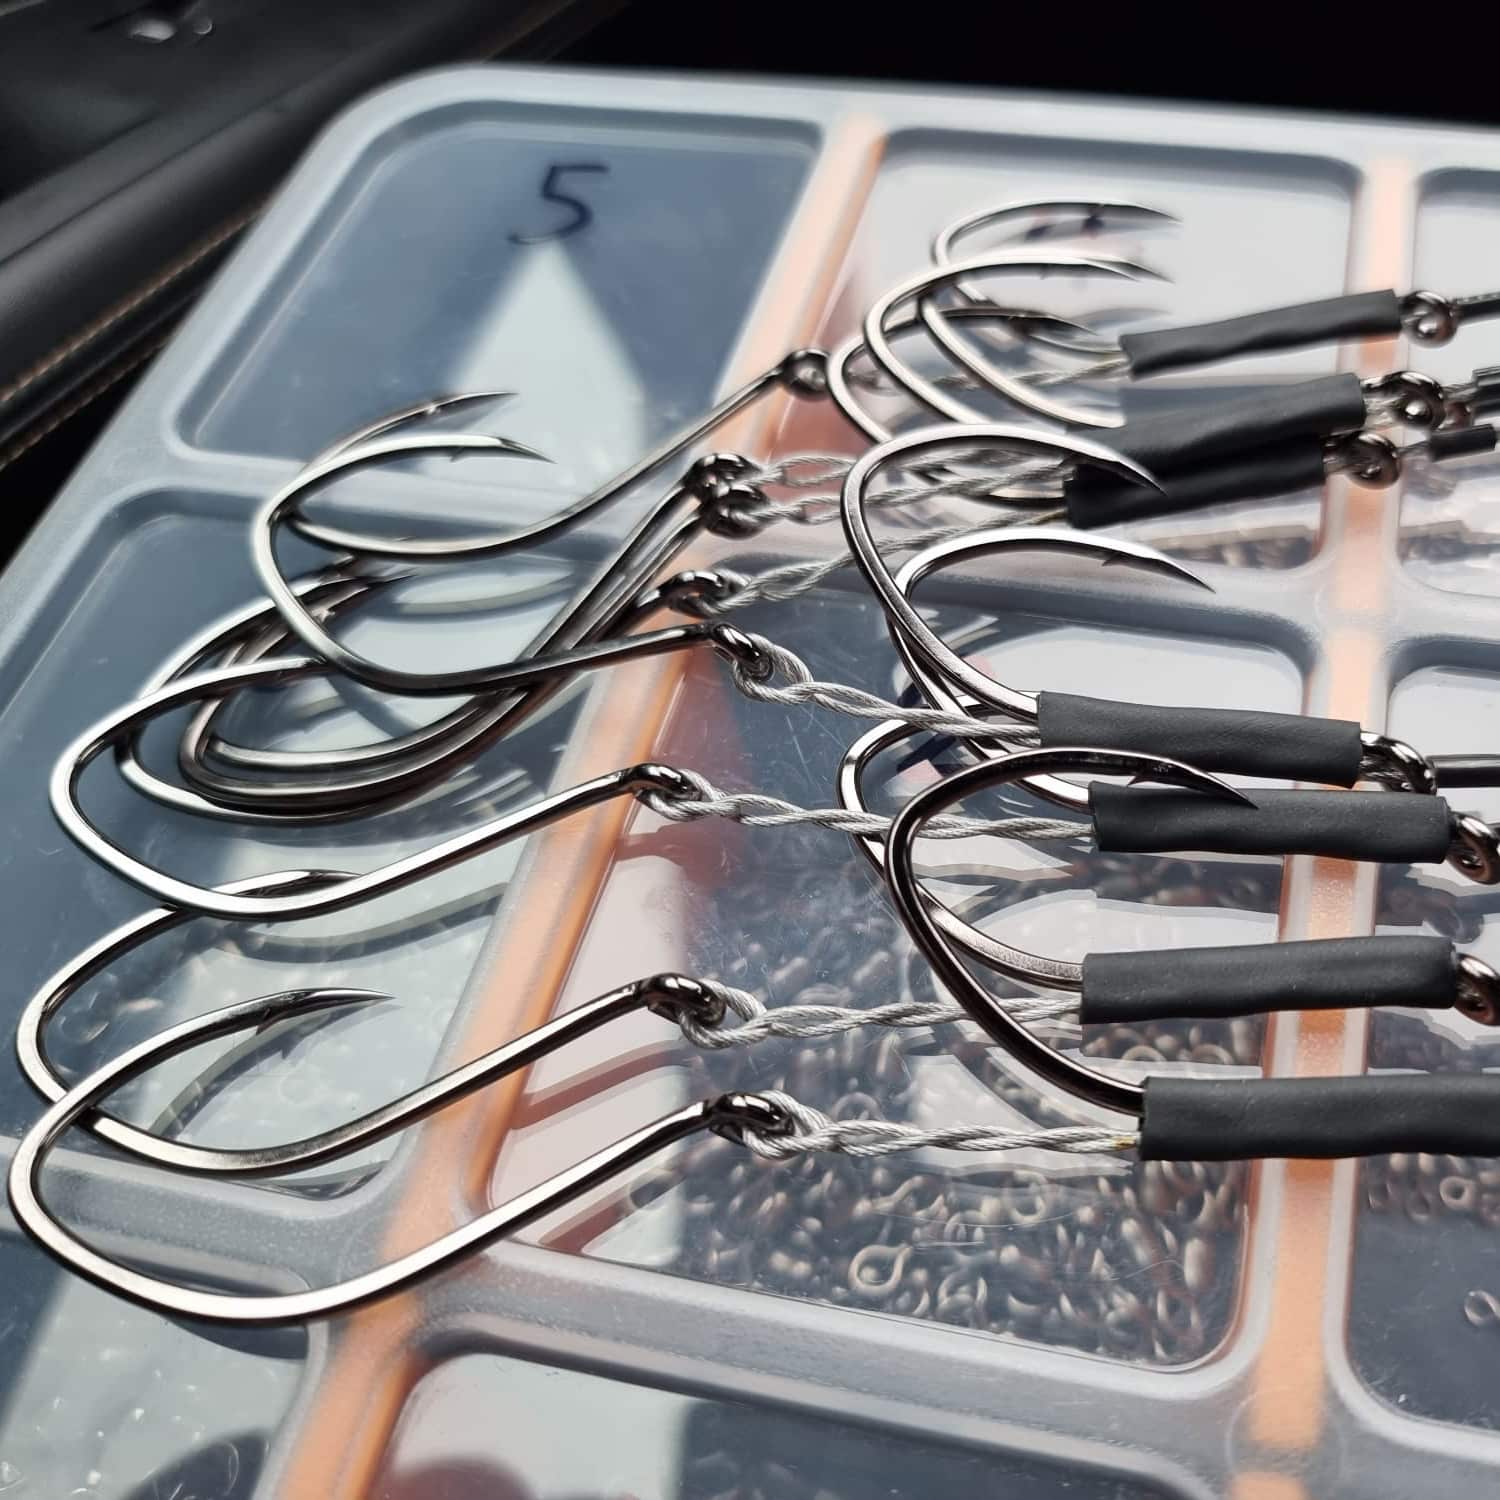
If I’m making 20 pulley rigs, I know I will need 20 main swivels, 20 snood swivels, 40 x 5mm beads and 20 Gemini Splashdown Solo bait clips. These components will allow me to construct the rig bodies.
Rather than tackling everything in one hit, I like to break the entire process down so I can spend a little time of an evening throughout the week on the task at hand.
For example, Monday evening would be spent tying the bait clip to the end of a spool of 100lb rig body and cutting to size.
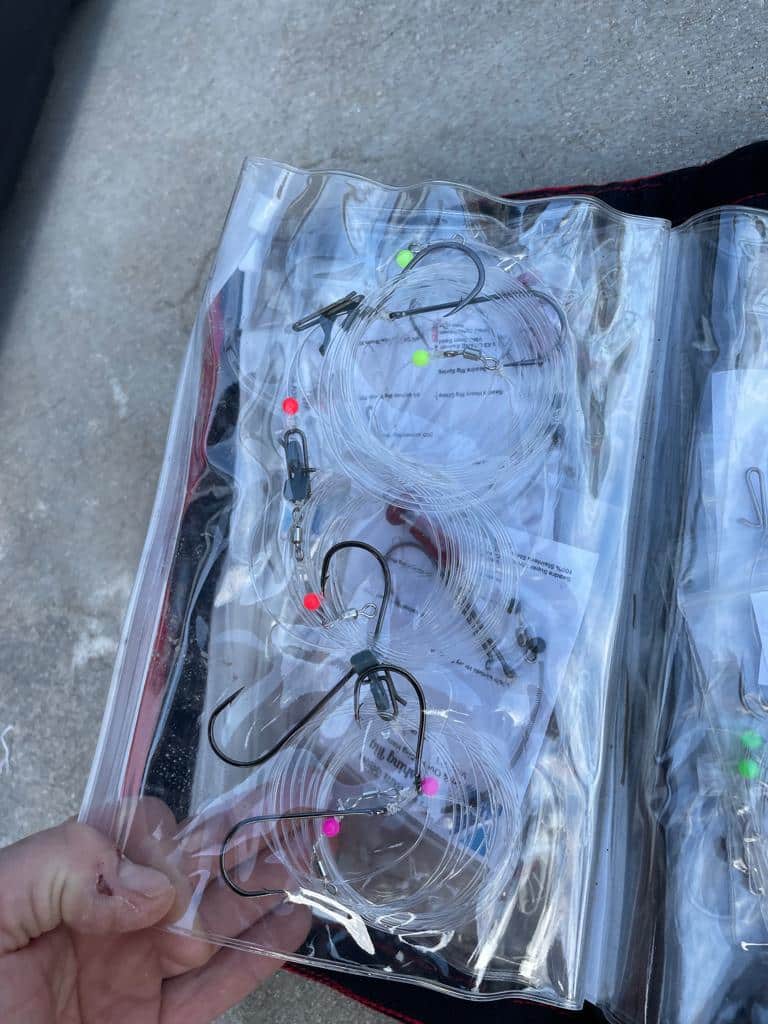
It’s rare that I use a pulley rig that is shorter or longer than 4’ in length, so by the end of that evening’s session I’ll have 20 lengths of rig body tied to the bait clips. The following evening I’ll slide on the components, namely a bead, the main swivel, then another bead. I’ll then tie the trace swivel to the opposing end and hang the body on a hook. The next evening, I’ll tie on the trace line, together with the hooks of choice for that batch and pack the complete rig away in a polygrip bag.
Of course, you could complete the rigs in one hit, but the time restrictions of modern life mean that for me, it makes more sense to grab twenty minutes here and there. You’ll be surprised just how many rigs you can knock up in a few short sessions and although my preference is for pulley rigs, the same principle could be applied to making any other rig, including multi hook clip downs. Break everything down in to manageable chunks and you’ll find the whole process less daunting and more enjoyable too. Having the right tools for the job will make life a lot easier, so be sure to have the following to hand.
Knot Puller
Enables you to get a really good purchase on a swivel or a hook, meaning that the knot can be snugged down fully with little effort.
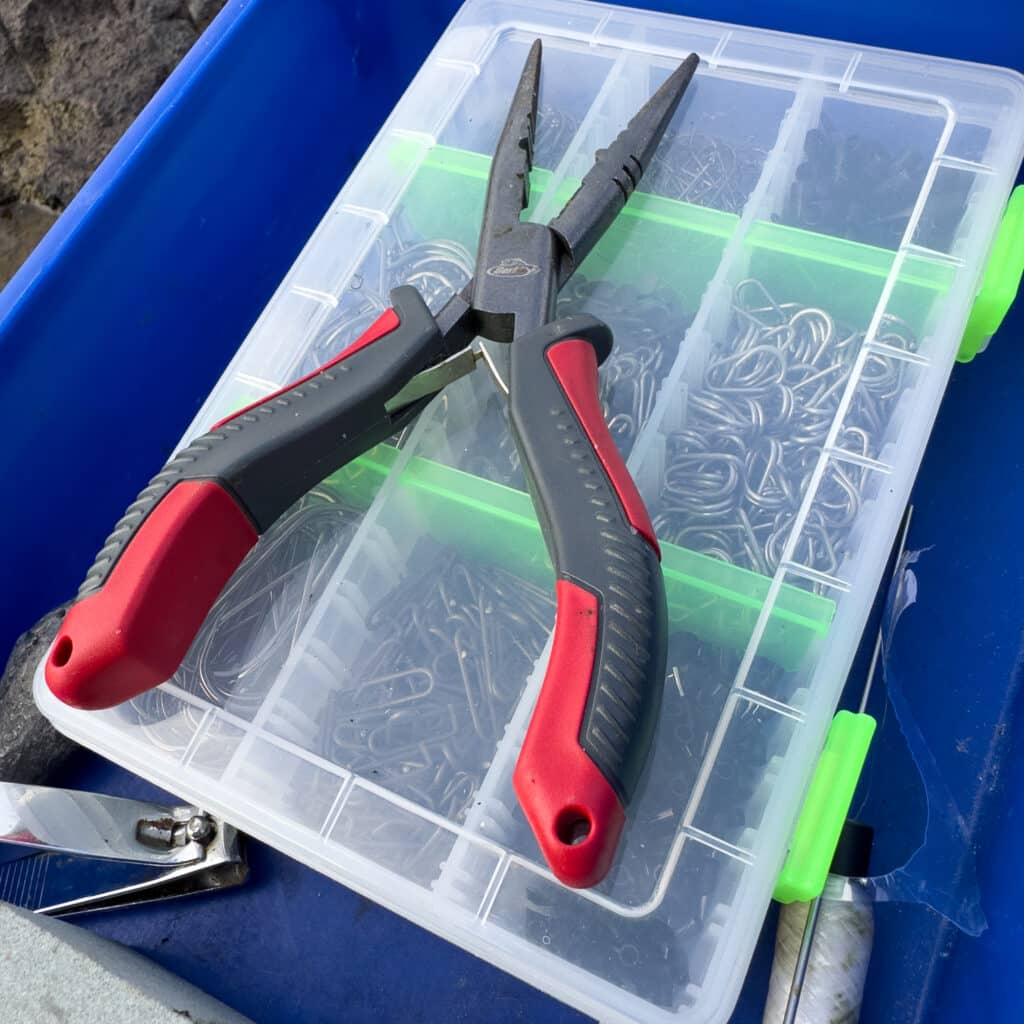
Round Nosed Pliers
Great for crimping copper stops or any mini rig crimp on multi hook clip down rigs. The round profile of the nose won’t damage the crimp like standard pliers do and they are also surprisingly good at getting hold of hooks and pulling them tight.
Sharp Scissors
It might sound obvious but having a really sharp pair of scissors can make a huge difference. Being able to cut a sharp point on the end of your leader means that crimps and other small components will slide on far easier.
Tape measure
Measure all of your rig bodies and snoods so you know exactly where you’re at. It pays to keep everything uniform and consistent.
A plain lead
Great for attaching to a multi hook clipped down rig to enable you to get the snood lengths right before fixing them in place.
Getting organized
Have everything you’ll need for each session to hand and laid out in a clear area. A quality segregated tackle box is a great investment and will mean that you’ll have all of the components you need in one place. Have one for the actual rig components themselves and one for your hooks. Bulk spools of line are obviously a higher price, but offer better value for money when you start making your own rigs and will last for many, many sessions.
I’m not a fan of rig winders, but I always have a large amount of polygrip bags to hand.
Coil completed rigs around your hand and they should come out of the bag tangle free when you come to use them.
A lead wire formed in to a hook and hung from a beam, a wall or ceiling will enable you to hang rig bodies and keep your work area clear of clutter.