

Blog
The Pulley Rig – The Easiest And Most Effective For Big Fish

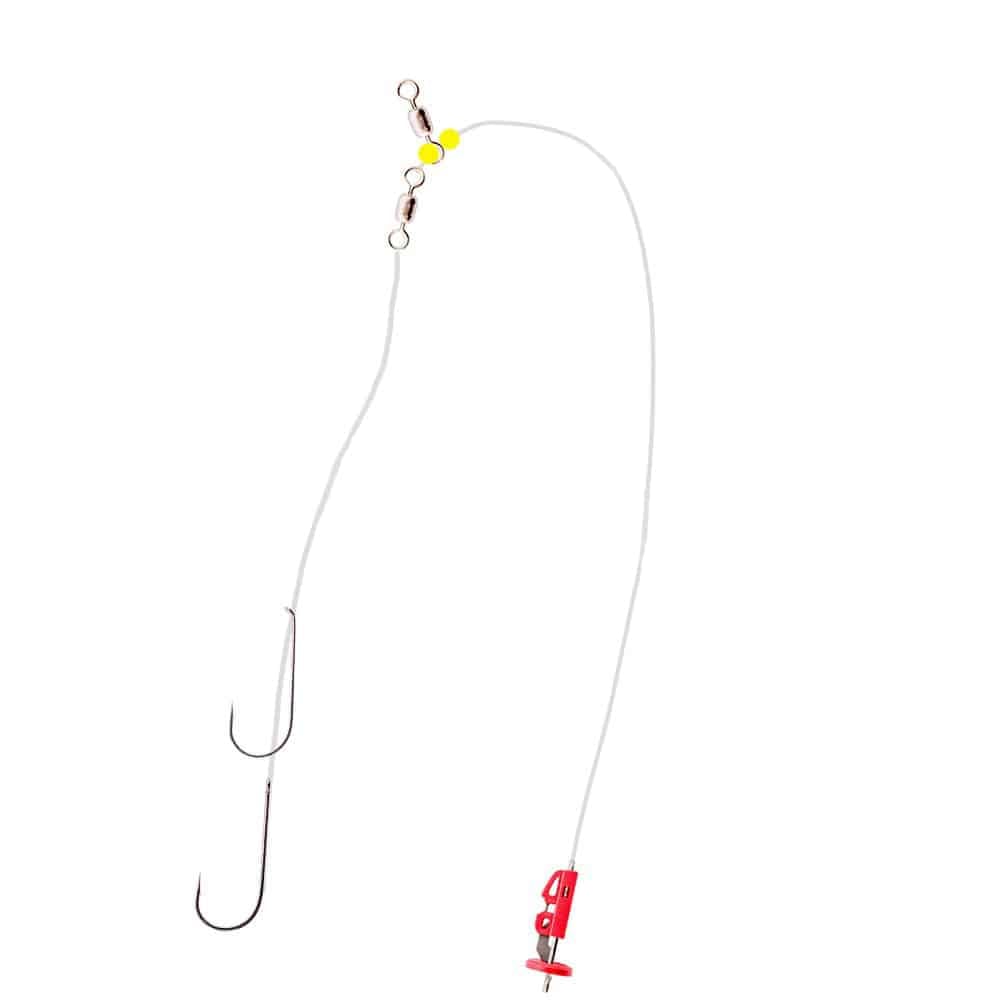
Sea fishing rigs can be as technical or simple as you want them to be and with the huge amount of terminal tackle now available, there are endless possibilities when it comes to tying up something to use for your shore fishing.
Jansen Teakle explains why the pulley rig is his go-to, how it works, and some things to consider when making it.
The pulley rig was originally developed as a rig for fishing over rough ground. The concept is simple- the weight of a hooked fish will lift the lead up and away from the sea bed ahead of your catch, preventing it from snagging. It’s highly effective at doing its job and for many anglers, it replaced the standard clipped-down Paternoster. A hooked fish on the Paternoster rig would be retrieved in line with the lead, meaning that it was always susceptible to snagging. The pulley rig pretty much revolutionised shore fishing rigs and paved the way for numerous variations based on the original concept; none of which, in my opinion, as effective.
Before we get into the construction of this rig though, is the pulley rig just for use over rough ground? In short, no.
The pulley rig can be tied with minimal components and is probably the fastest rig you can make. Unlike the clipped-down Paternoster, tolerances in its construction aren’t quite so critical, meaning that if you’re new to rig making, it’s a relatively simple task to ensure that the trace line and rig body are of similar lengths and the hooks will be clipped down for casting.
It’s without doubt the sheer ease of this rig which has led to more and more anglers using it over the clean ground, catching fish and ultimately dispelling the myth that it can only be used over rough ground. Of the anglers I regularly fish with here on the Bristol Channel, I can’t think of one who fishes with anything other than a pulley rig, perhaps other than when targeting smaller shoaling species with multi-hook rigs. And that includes those tackling reefs, rocks, beaches and jetties.
If there ever was a multipurpose rig, the pulley is definitely it.
How To Make A Pulley Rig
From a safety aspect, the body of the rig does need to be tied with relatively heavy mono. The main running swivel of the rig bares considerable load, and if the monofilament body of the rig is of an insufficient diameter, and in particular lower in diameter than the eye of the swivel, there is the potential for the swivel to pull through the rig body on the cast, leading to a potentially dangerous crack-off. Always use a rig body of around .90mm. It won’t deter fish from taking your bait but it will certainly make your rig safer.
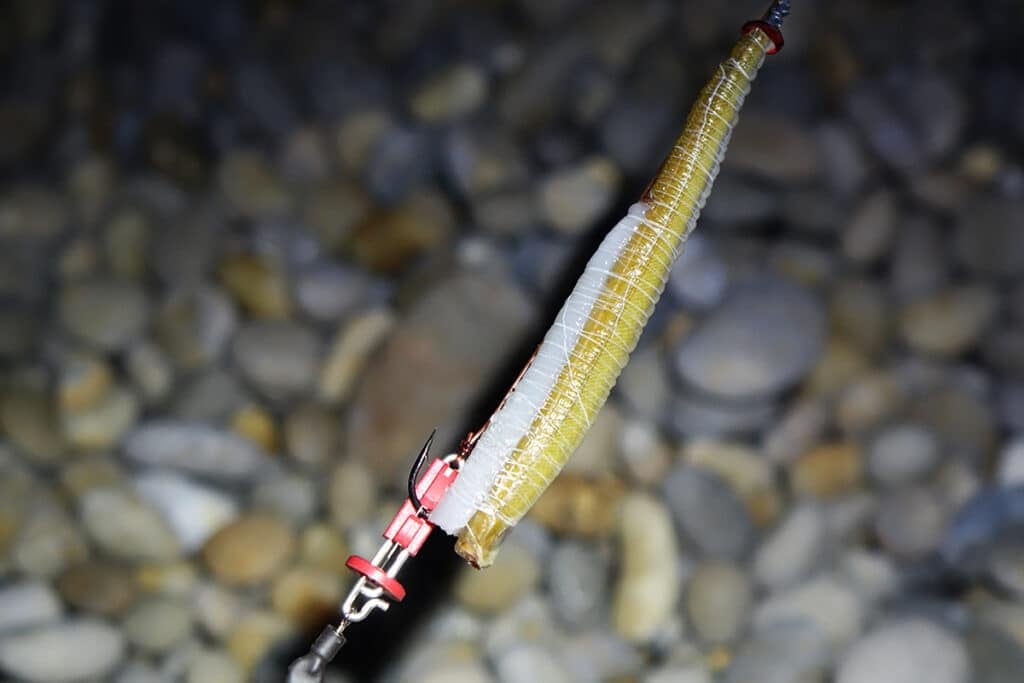
Tie your bait clip of choice to the end of your spool of 0.90mm mono. Breakaway Imps and Gemini Splashdown Solo clips are both very popular. Cut your rig body length depending on the ground you will be fishing, but to begin with, I’d suggest a 3’ length as a good starting point. This can be experimented with further down the line, but for now, keep it simple. I would consider 3’ to be a good all-round length.
Next, slide on a 5mm bead, then a size 3 Seadra X3 Crane Swivel, followed by another 5mm bead. Then tie a size 4 Seadra X3 Crane swivel to the end and that’s the rig body done.
Decide on your trace-breaking strain and choice of hooks, depending on the species of fish you are hoping to target. I would recommend not dropping below a breaking strain of 30lb, as thinner traces have a tendency to wrap around the rig body, especially in a strong tide. Tie your trace line to the trace swivel (the one that’s not free-running) and holding the other swivel, bring the trace line down to the bait clip and cut it in line with it. Next, if you’re using a single hook, add a neoprene or silicone bait stop to the end of the trace line, followed by a bead or sequin and tie your hook to the end of the trace line. If you’re using a Pennel rig, simply slide the top hook onto the trace before tying the main hook to the end of it.
If you’ve followed these instructions, once the hook is clipped into the bait clip, there should only be a gap of around 10-20mm between the two swivels when the rig is clipped down. If this gap is larger, tie the trace line again, as I’ve found that if the gap is much more than this, the effectiveness of the rig will be compromised.
Experimentation
Once you’ve mastered the basics of this incredibly simple and effective rig, you can begin to experiment with different rig lengths, adding dongles, using specialist pulley beads and other aspects of the rig. Pulley beads work by spreading the load, ensuring a wider surface area that makes contact with the rig body. That said, I’ve never seen the need to move away from a quality crane swivel, but it’s your rig, use the components you have faith in! The length of the rig is a matter of personal preference and if I’m fishing a rough ground mark I’ll generally go shorter. Shorter traces are less likely to catch on a rough bottom. Longer rigs seem to work well on cleaner marks. Remember that the longer the rig, the greater the distance between a hooked fish and the lead. Store your rigs in resealable polygrip bags, but firstly wrap them loosely around your hand to form a coil. Polygrip bags can be labelled with hook sizes etc and stored in a rig wallet. Alternatively, EVA foam winders can be used and will serve exactly the same purpose.