

Blog
Your First Multiplier fishing Reel- A definitive Guide. By Jansen Teakle

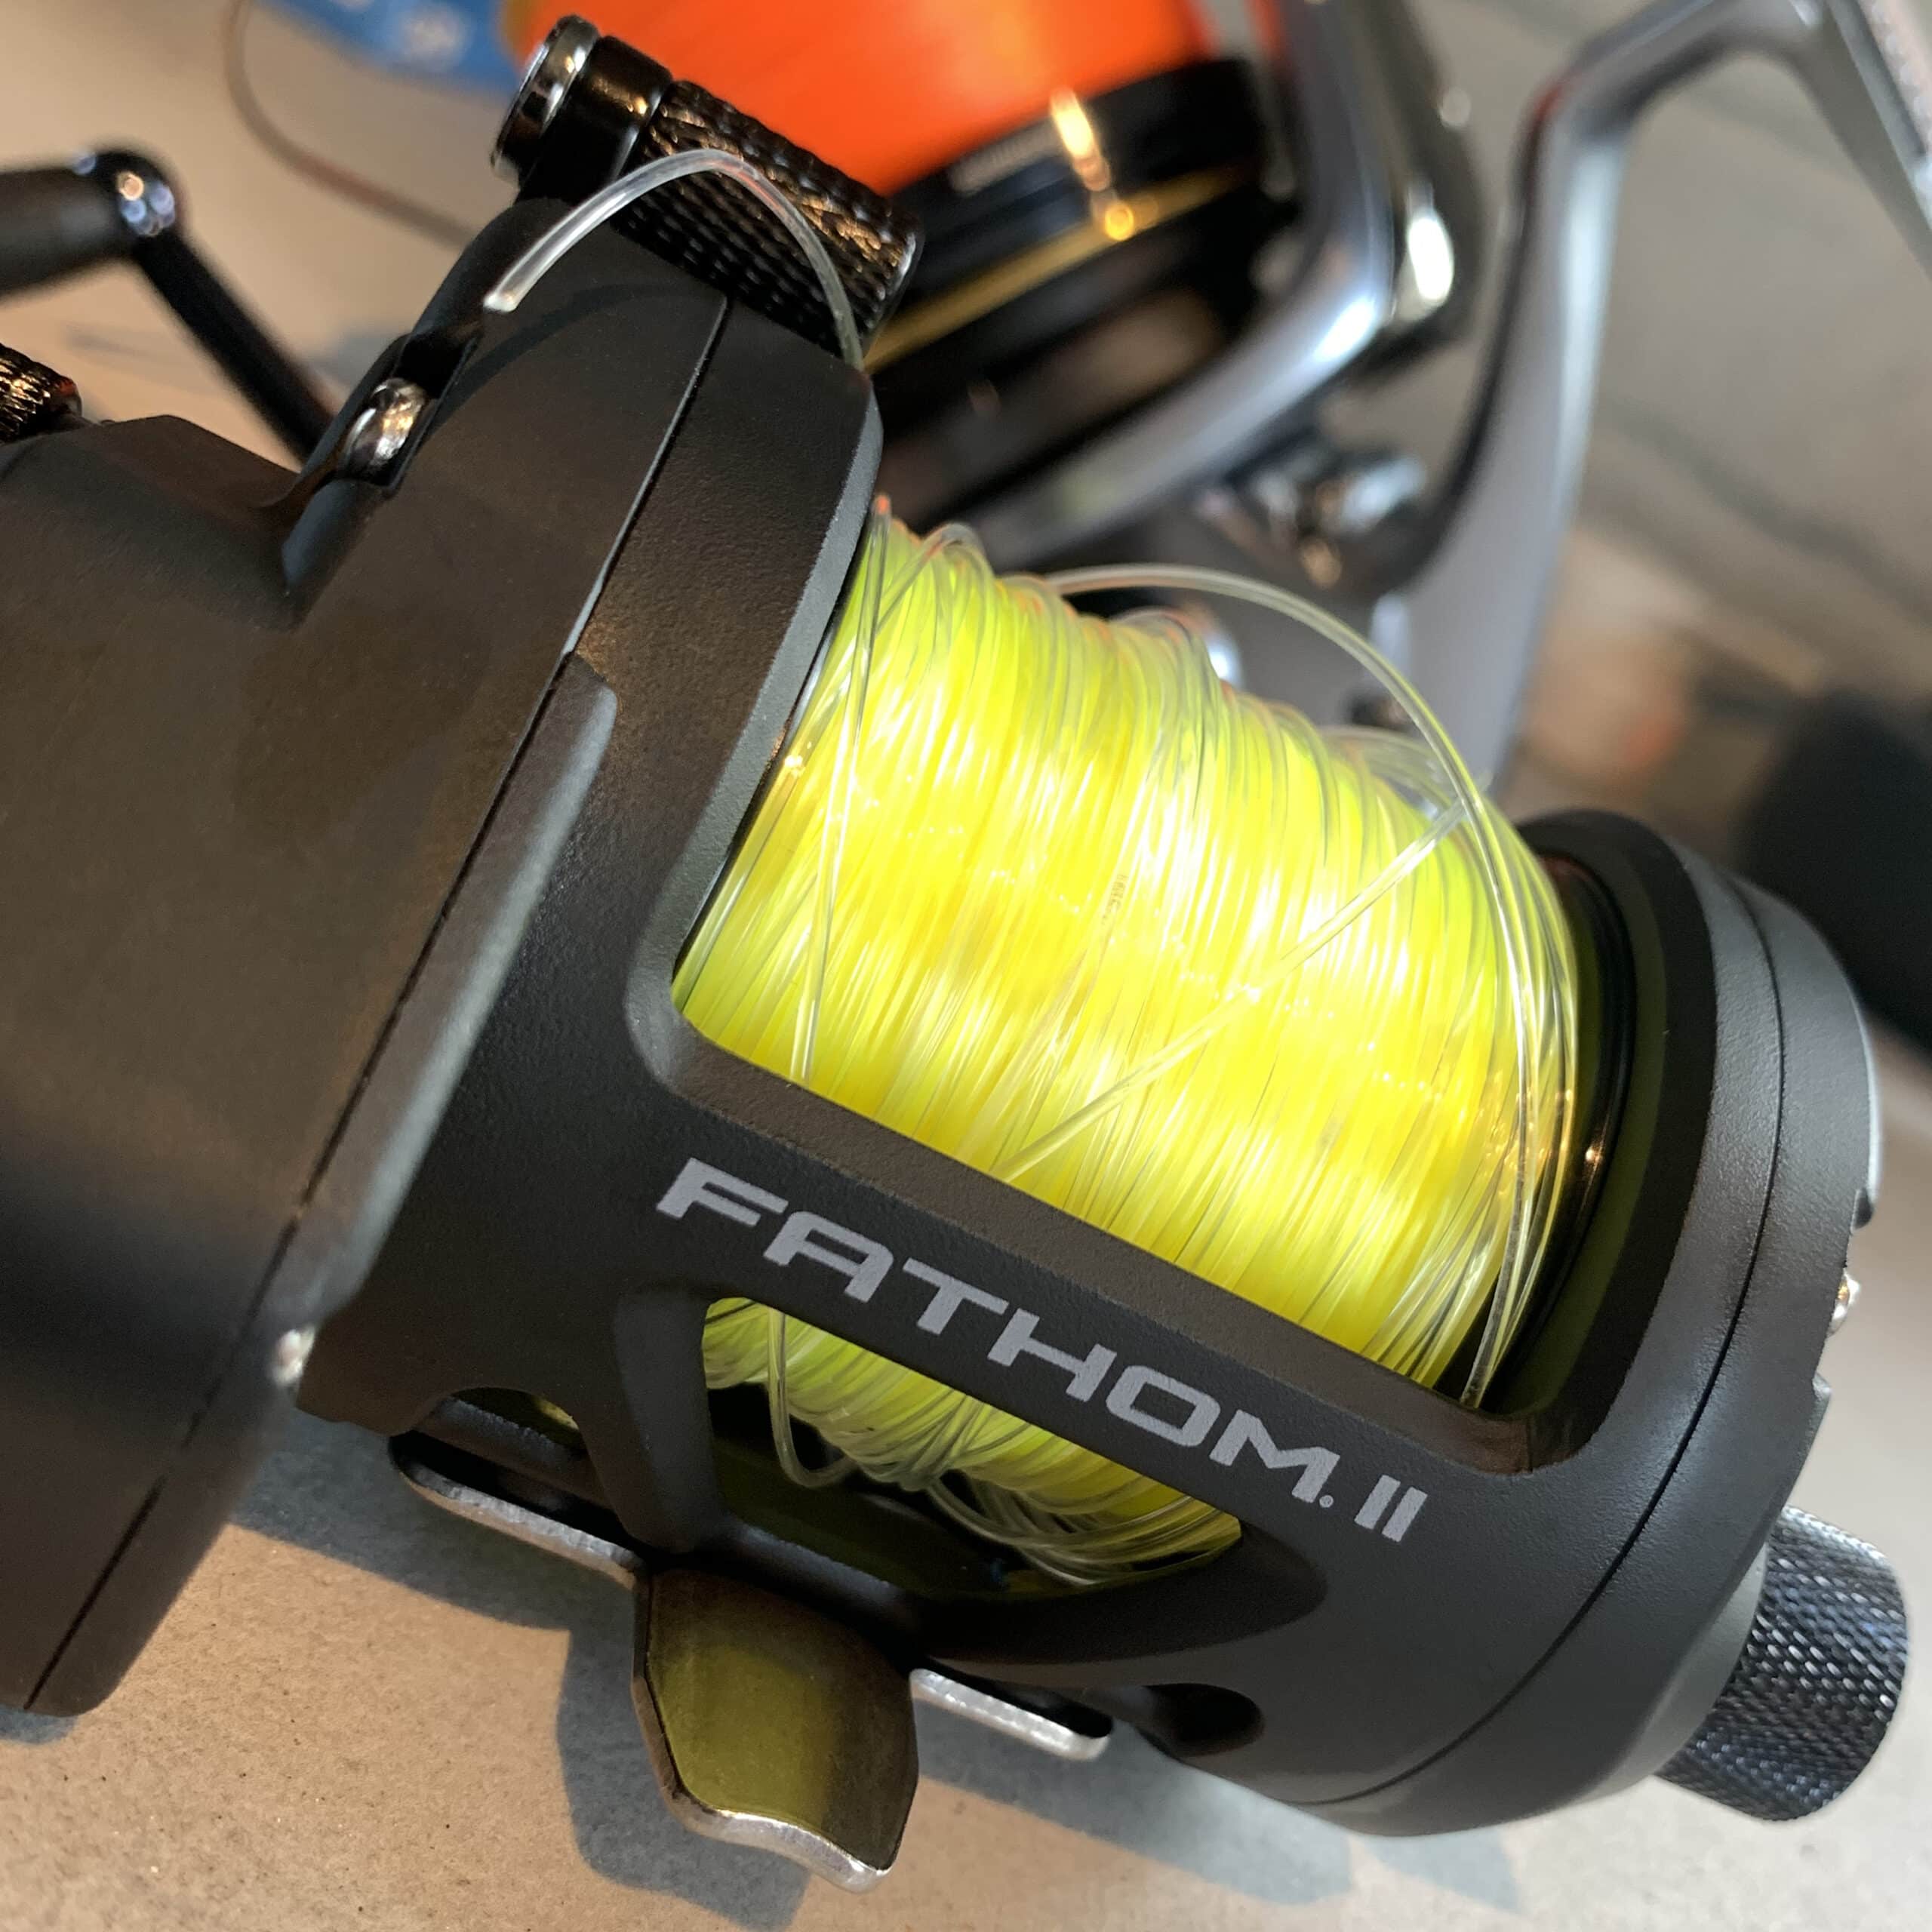
The move from fixed spool to multiplier reel has always been a big step for the shore based sea angler, and even though the desire or need to do so is not so great as it once was, what with the recent advent of extremely capable fixed spool reels that under fishing conditions will cast very similar distances, it is still a recognised transition for many sea anglers and one that requires some careful thought to ensure an enjoyable experience on the beach, rocks or pier. Once set up correctly, a multiplier reel will be a joy to use!
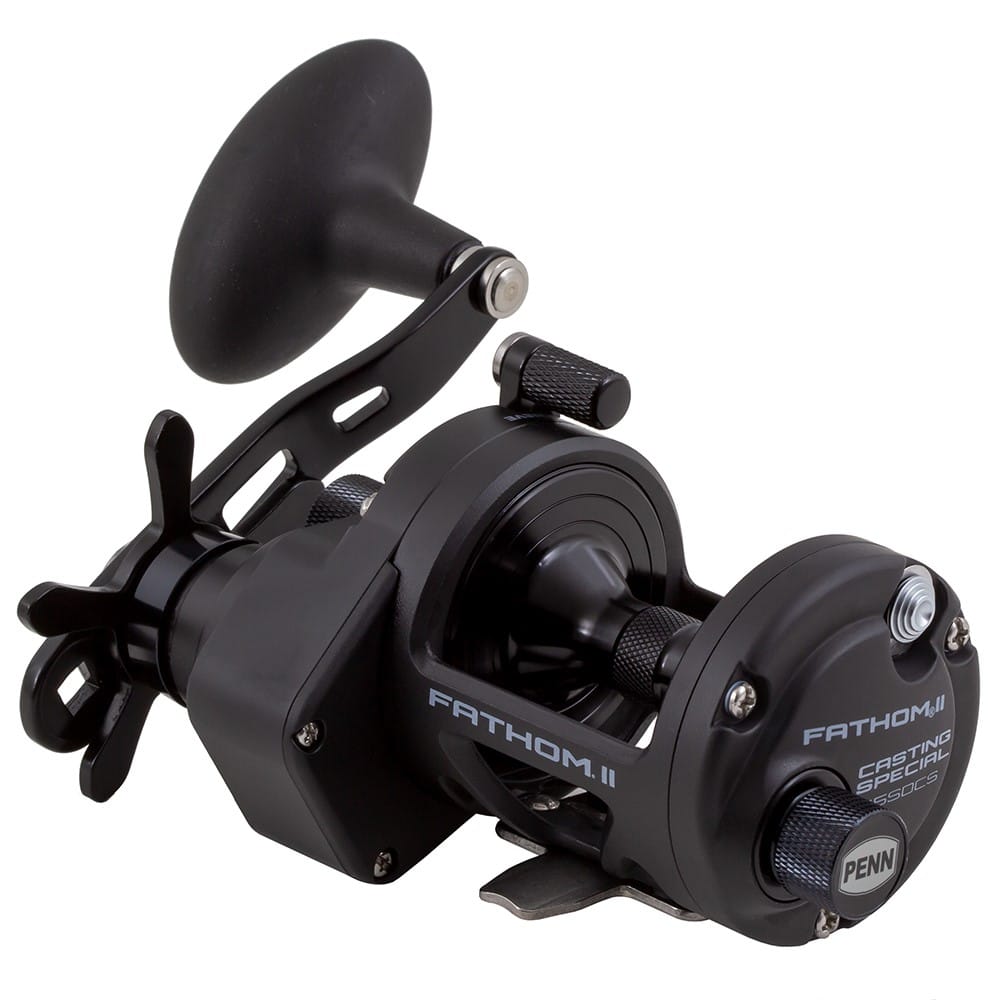
The multiplier reel explained….
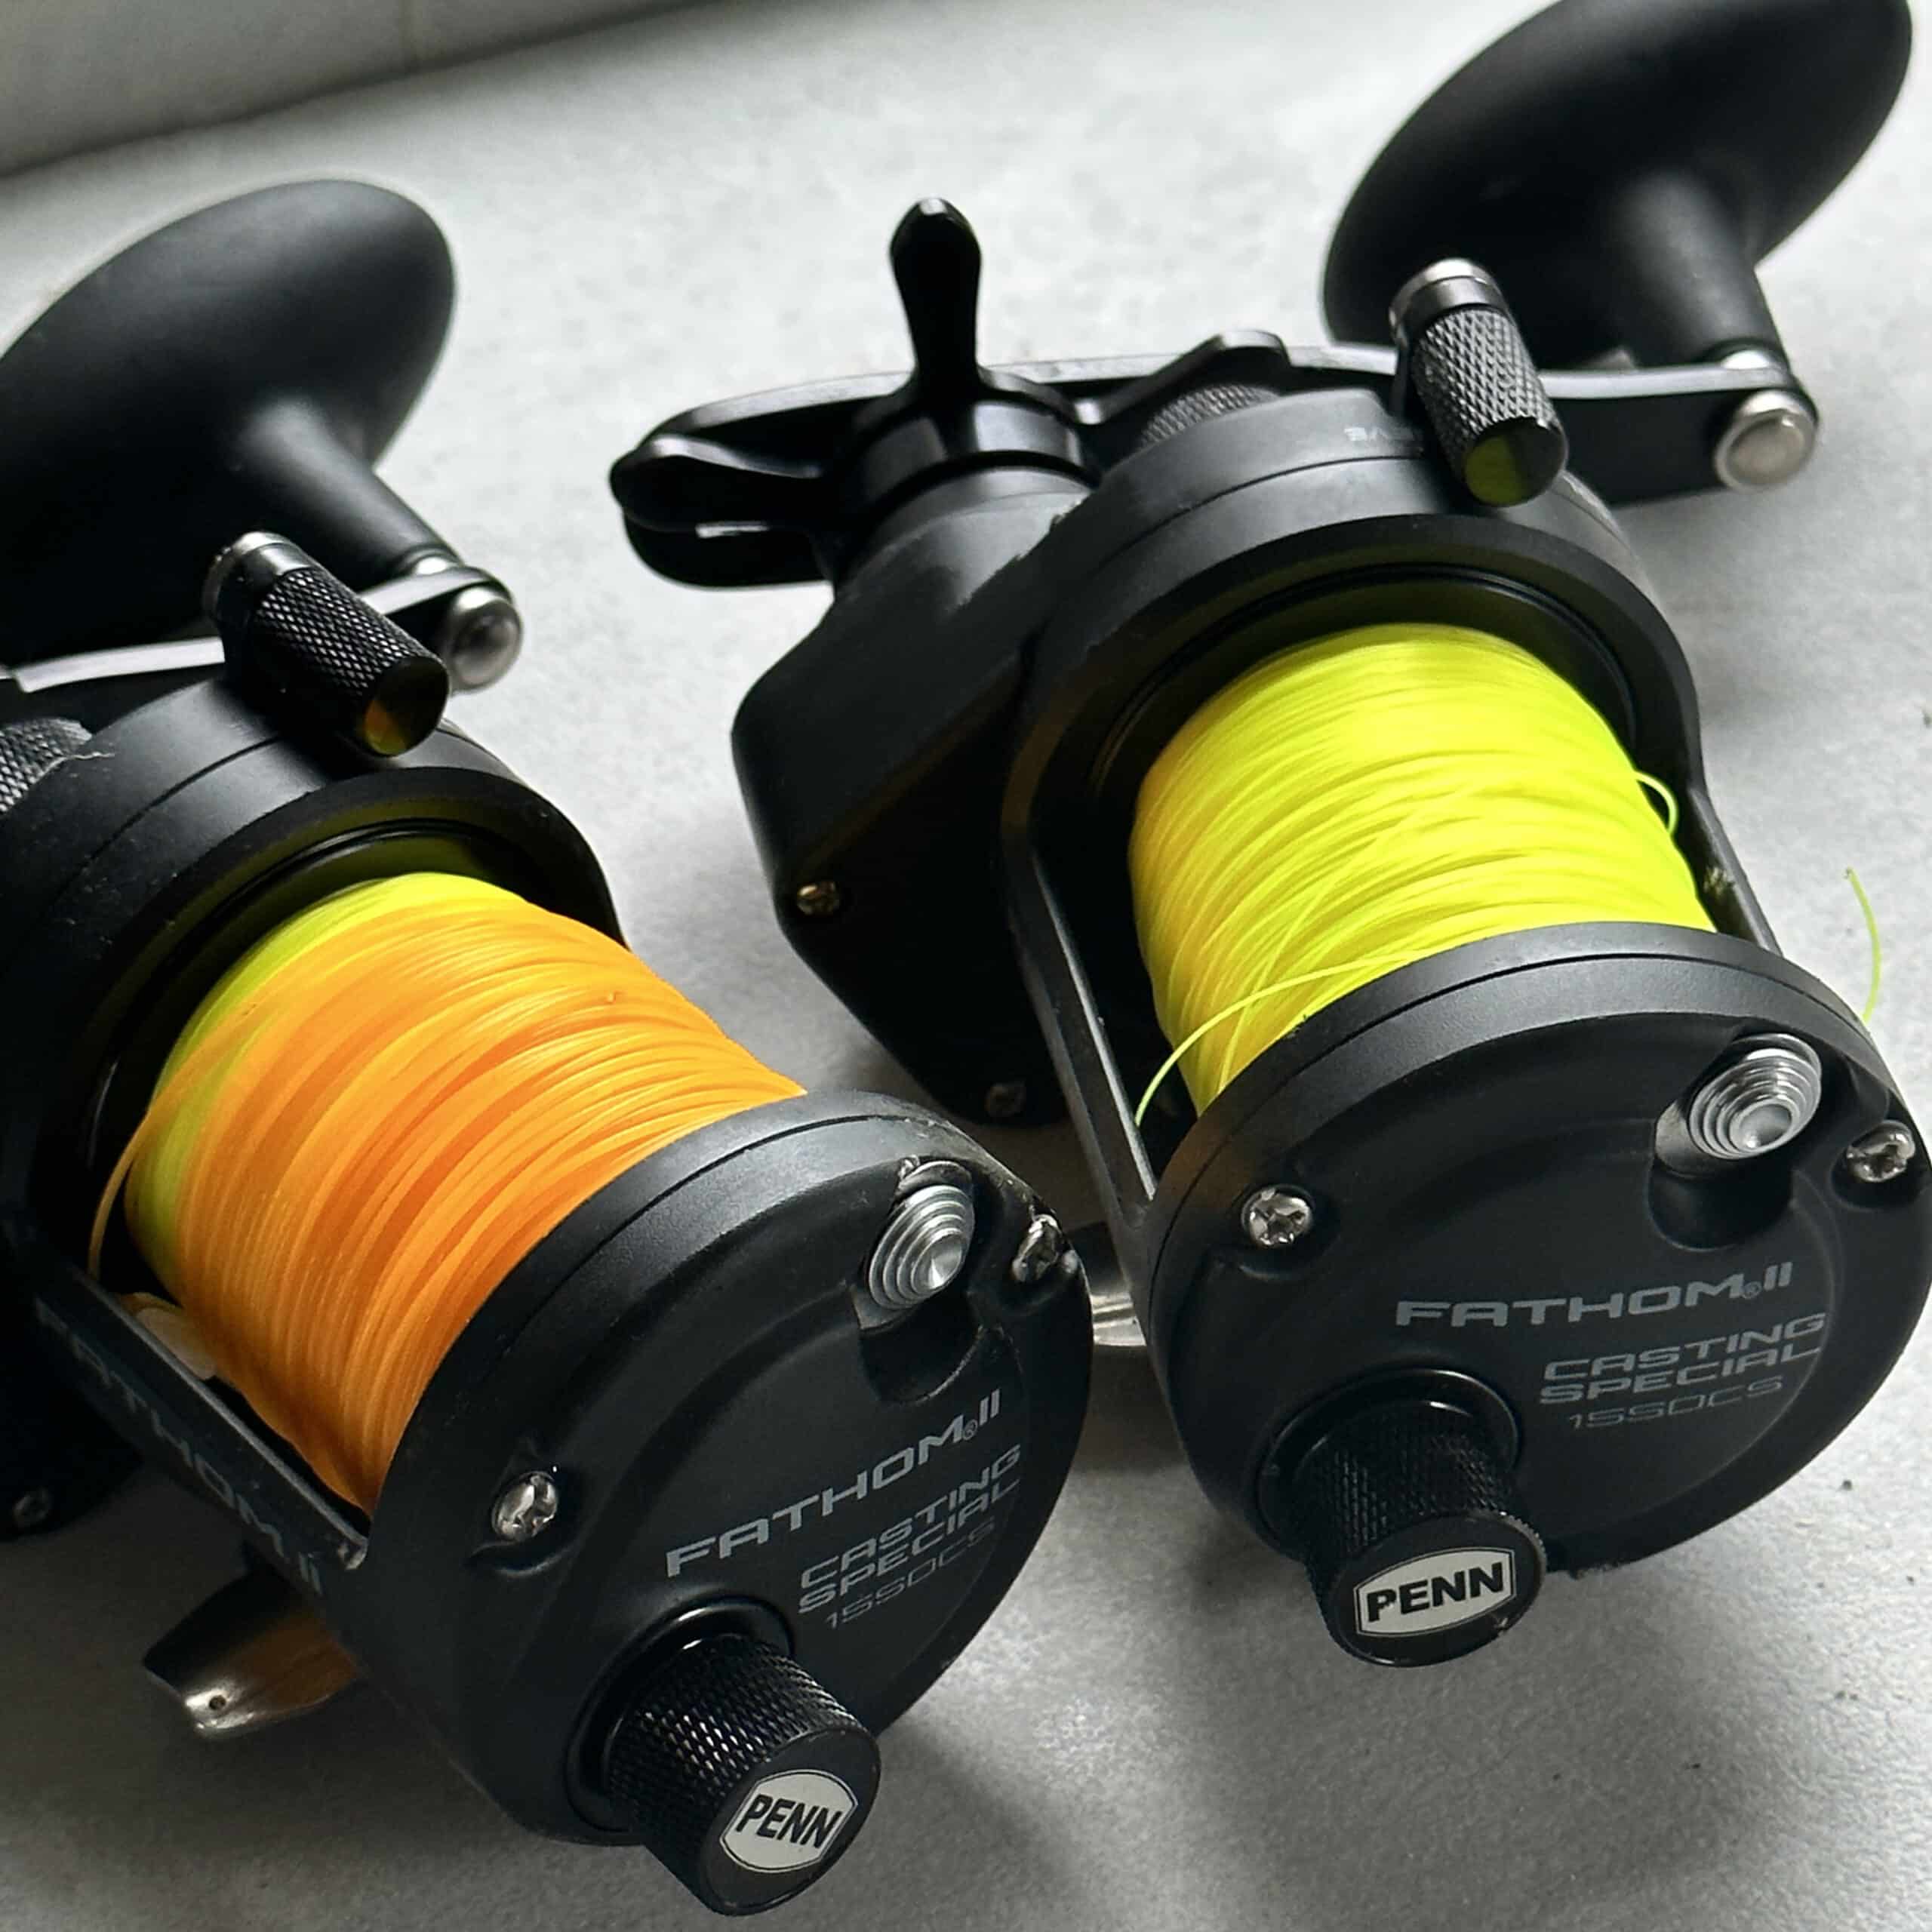
A multiplier reel is named so as each turn of the reel’s handle will revolve the spool multiple times, a typical example being somewhere between 5 and 6 revolutions per handle turn. A multiplier reel will retrieve line directly on to the spool, as opposed to at a right angle in the case of a fixed spool reel. This makes it stronger, the drive is direct, the retrieve smoother and ultimately more powerful.
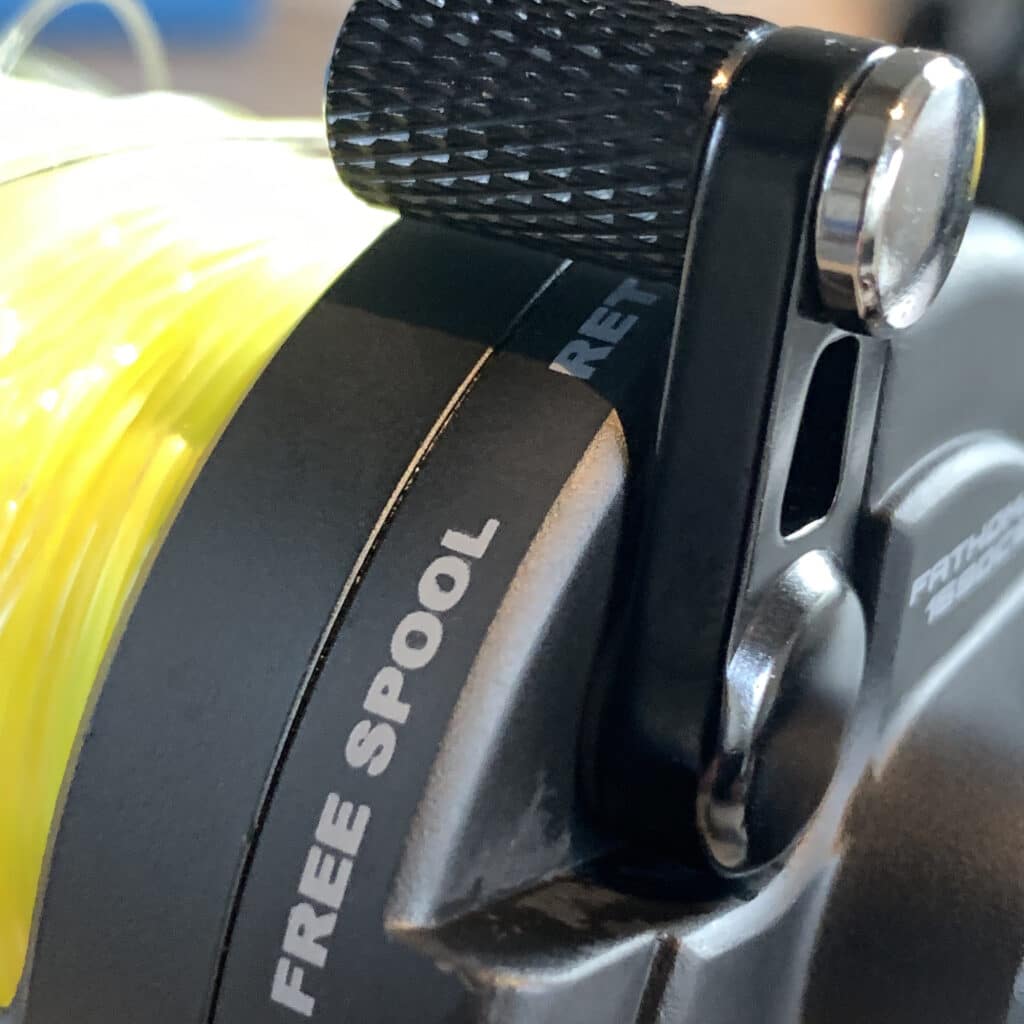
The cast is made by first placing your thumb over the spool and then engaging a ‘free-spool’ leaver or button. In its simplest form, the cast is made by releasing your thumb at the end of the cast and allowing line to leave the spool of the reel.
Multiplier reels also feature a clutch, or drag, behind the handle which when loosened will allow line to pay out when under tension, as in the case of a fish that might take line from the reel during a fight. UK anglers seldom use the clutch, but it’s worth getting familiar with it all the same. In most cases, the clutch will resemble a star, though some heavier models might feature a lever drag clutch that also combines the free-spool mechanism.
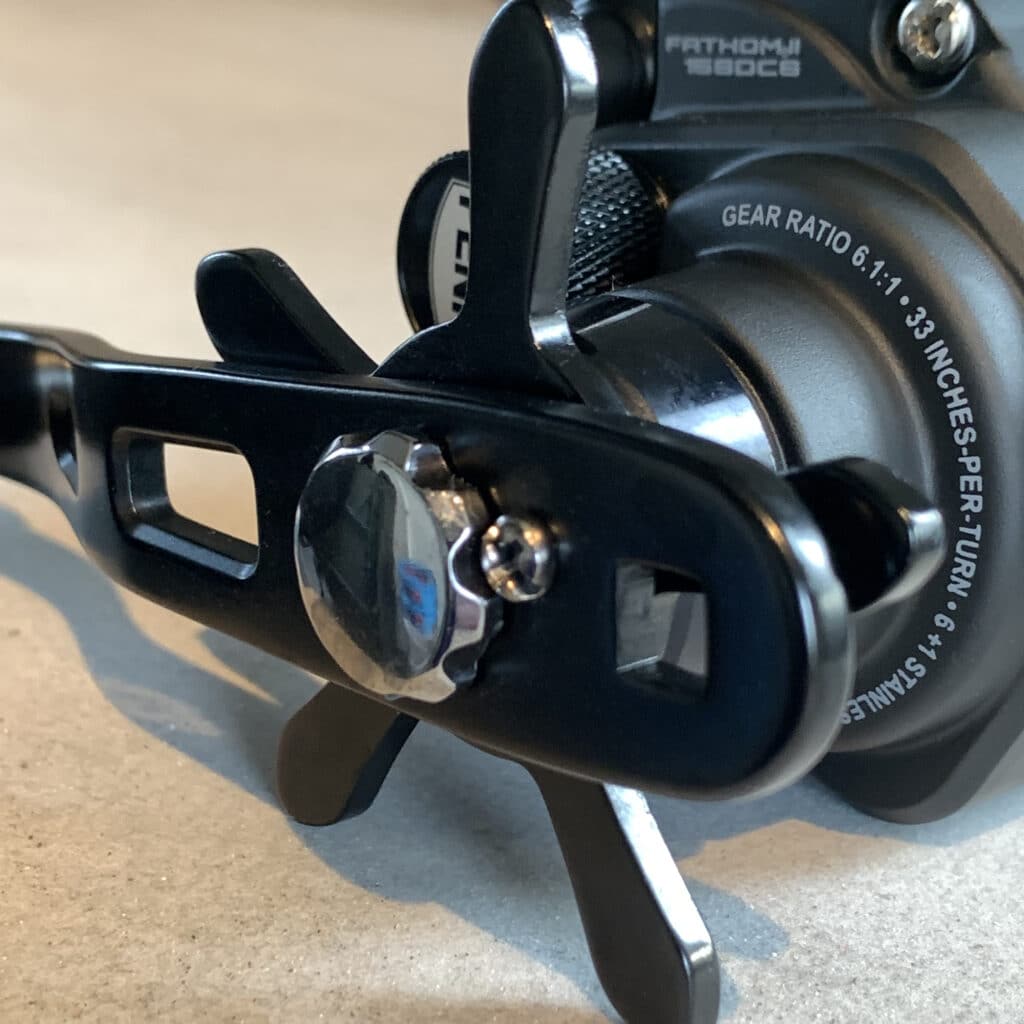
Reels that feature the latter should be avoided to begin with- a star drag reel is absolutely adequate for fishing from the shore in this country and by far the most common. At the end of each session, a star drag should be fully unwound to prolong the life of the drag washers. Clicking the ratchet on will also mean that at the start of your next session, you’ll be able to pull line from the reel in a controlled fashion to thread your line up through the rod rings. But more about the ratchet below.
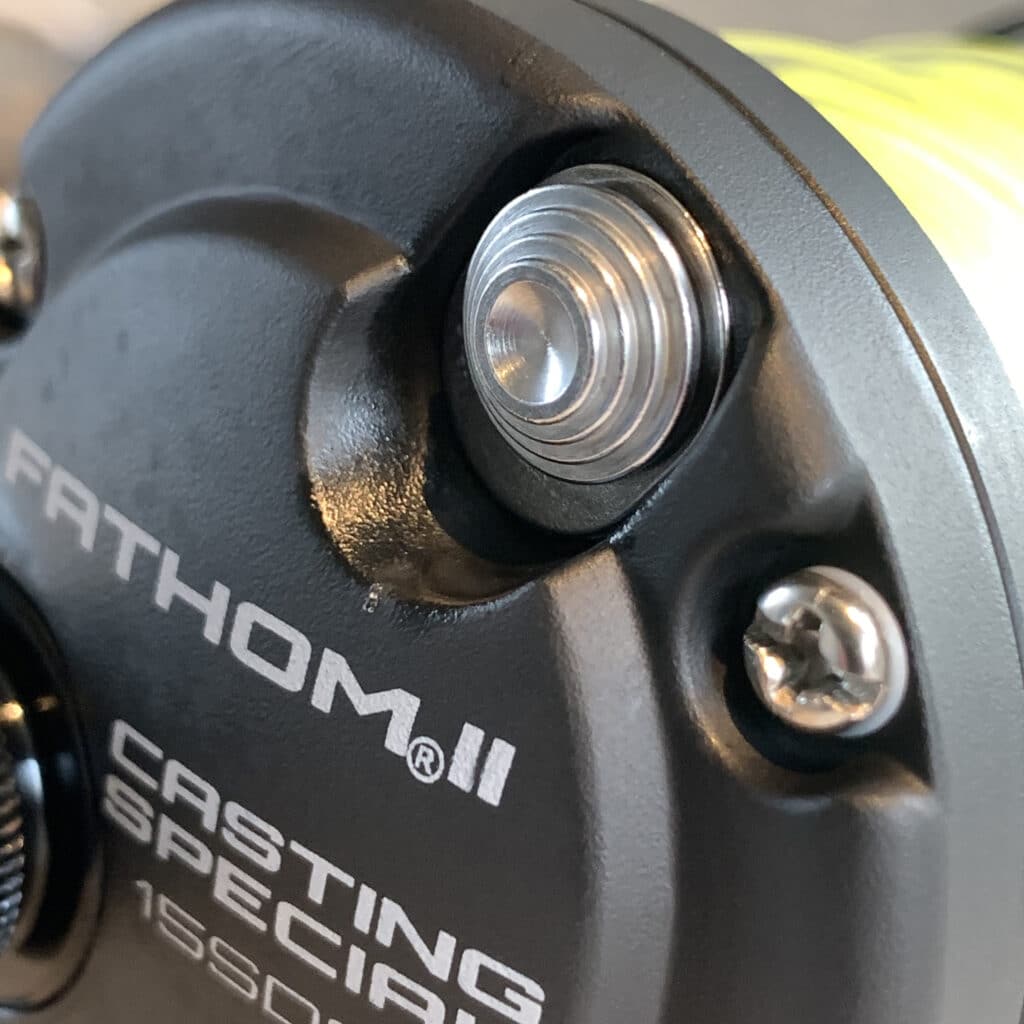
On the opposite side of the reel to the handle, you will find a ratchet, usually in the form of a small button that can be slid back and forth. This button will engage the ratchet and create a loud audible alarm when line is paid out. This is a useful feature, as used in conjunction with the reel’s drag, if you were to leave your rod unattended, you would have an audible indicator if a fish were to take the bait or a large raft of weed was to hit your line, potentially dragging your rod in to the water.
The only multiplier reels that should be considered for shore fishing are those that are fitted with a braking system. This is hugely important, as without one, you will suffer with horrendous overruns. An overrun is the result of the spool travelling faster and delivering more line than is required, regardless of whether that is just after the lead has left the rod tip or when it hits the water. Either way, the result is an an expensive tangle that will take time to unpick, if it even can be. There are two types of braking system- magnetic and centrifugal. A magnetic braking system consists of either one magnet, or a series of smaller magnets that when a dial on the side of the reel is turned in one direction or the other, the magnet(s) move closer to or further away from the spinning spool. This creates resistance, and although spools are usually constructed of alloy and so are not magnetic, an electromagnetic field is created which allows for this braking effect to happen.
A centrifugal braking system is less obvious at a glance, but by removing the side plate of your reel it’s easy enough to check if there is a centrifugal braking system in place. The side plate on the opposite side to the handle is usually held in place by three screws, remove this plate and look for two pins protruding from the spool at right angles. They will likely be carrying small carbon fibre or plastic blocks. These are known as brake blocks, and as the spool spins will travel the length of their pins and make contact with a collar within the side plate, slowing the reel and helping to prevent overruns. Some reels contain both of these systems, but the principles of each will remain the same.
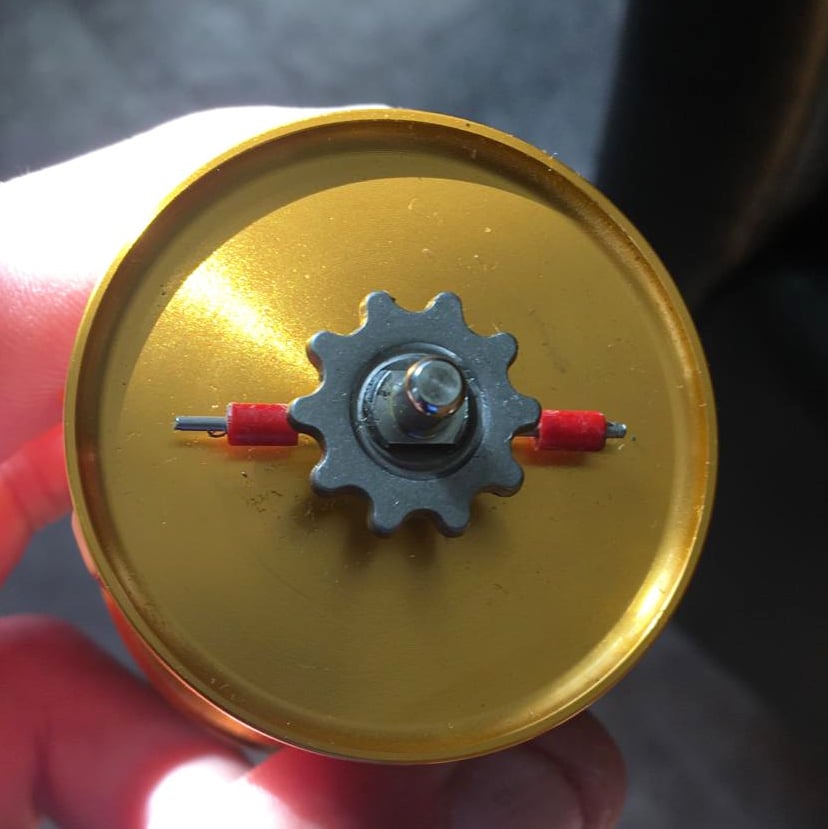
End float tensioning.
Contrary to popular belief, the large knob in the centre of the plate underneath the handle is not a brake. This knob is to allow for centralisation of the spool’s spindle and on some reels there will be a knob at the opposing end that also assists with this. These knobs should never be over tightened as doing so could damage your reel. Instead, loosen them just so that there is a tiny, tiny amount of side play in the spool.
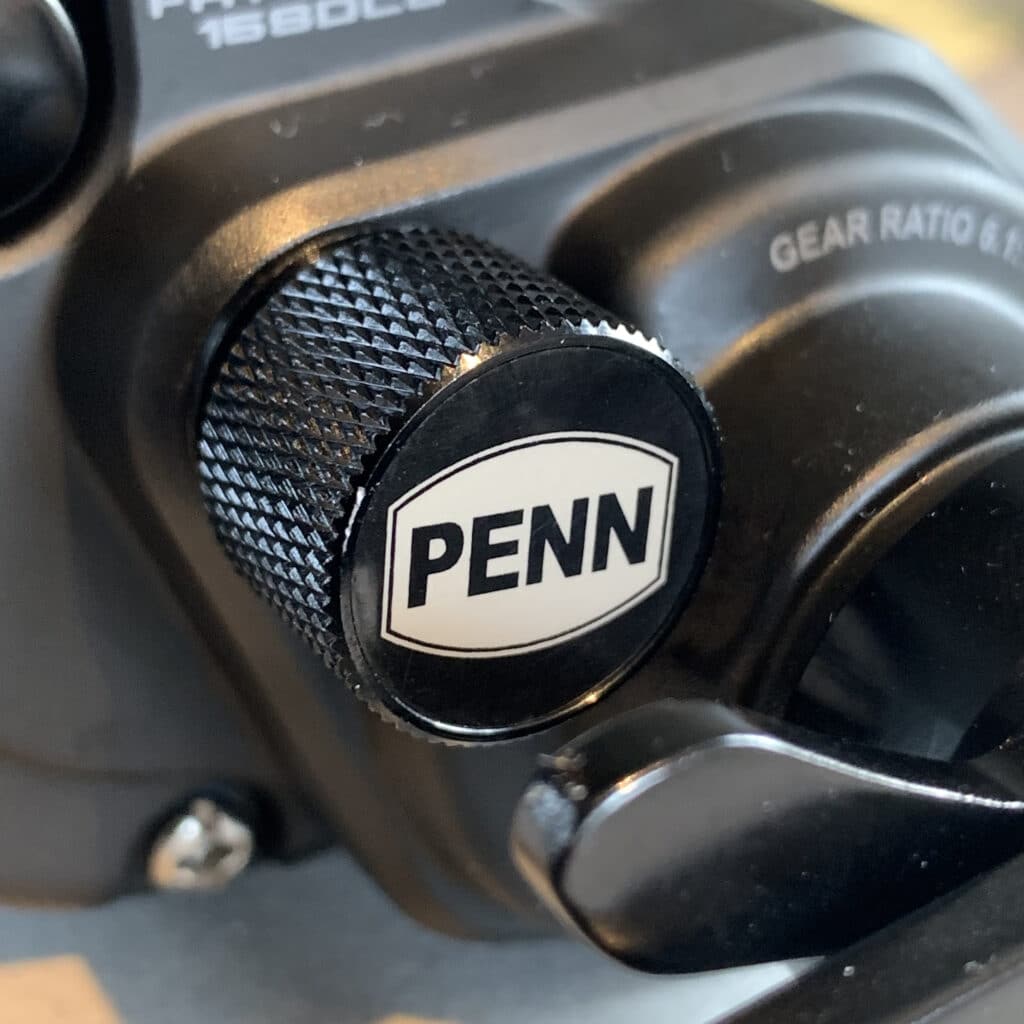
Before you even get to the sea, it is important to familiarise yourself with each of these basic functions.
Setting your multiplier reel up.
Correctly setting your reel for safe and hassle free casting is straight forward and it’s important to remember that the aim of the game at this stage is not out and out casting distance, but smooth, consistent and hassle free casts. Let’s start with that braking.
Aside from the braking systems detailed above, there are several factors that will determine just how fast or slow your reel’s spool will spin.
Line level.
the more line on the reel, the faster it will seem. Less line will create a slowing effect. With this in mind, fill the reel to within approximately 2mm of the spool’s lip.
Any less than this could severely reduce casting distance. Line thickness can be selected to create a braking effect too. Higher breaking strain lines (typically 0.37mm-0.45mm) will be thicker, meaning that once the cast is made, the line level will drop faster, making the reel’s spool seem slower. Lower diameter lines (typically 0.28mm-0.35mm) will create the opposite effect, the spool’s line level taking longer to drop, making the reel appear faster.
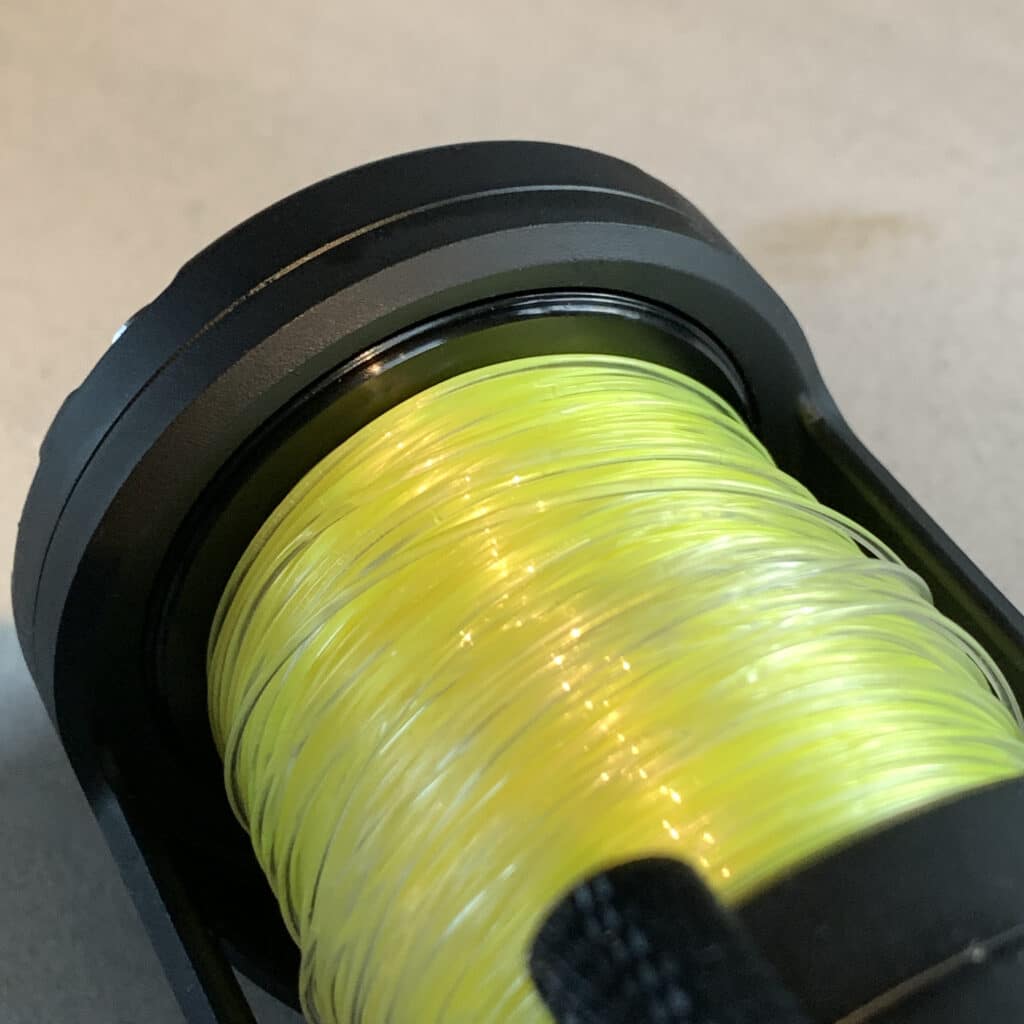
Spool bearing oil.
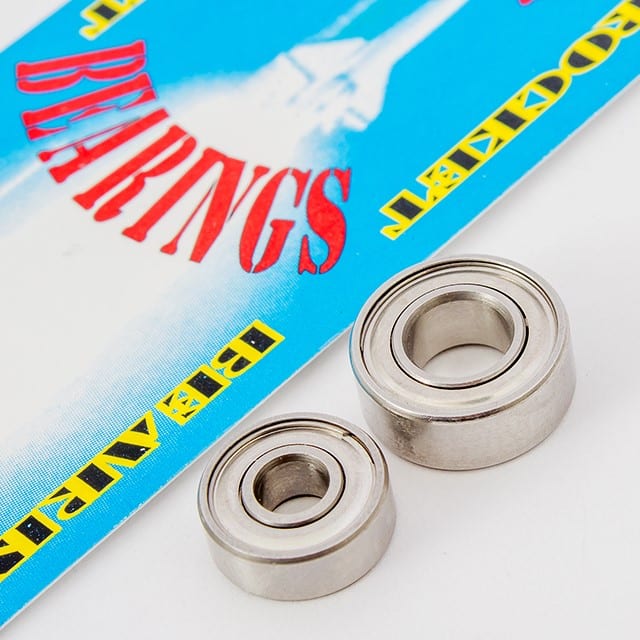
The spool of your reel will be running on two bearings, one at either end of the spool itself or captive on the spool’s spindle. In most cases, each can be removed easily allowing for lubrication. A thick oil will slow the bearings, and the spool down, a thin oil will speed them up.
Bearings should be removed and soaked in lighter fluid to remove factory grease, allowed to dry and no more than a couple of drops of your chosen oil added to each bearing.
Brake blocks.
Two large break blocks will make the reel slower and more controllable, two smaller brake blocks will make it quicker and a single small break block will make it faster still.
Remember…. The aim of the game is a safe, trouble free reel. So to recap, when learning to cast with a multiplier reel, this is how your reel should be set up-
• Line level 2mm below spool lip.
• Magnetic braking system applied fully.
• Centrifugal breaking system set with 2 large blocks.
• Thick oil in each spool bearing.
• DO NOT use the end float tension knob as a brake.
This will give you a fighting chance of combatting overruns, ensure that the reel is running safely and assist you greatly when learning to cast for the first time with a multiplier reel.
On the beach….
The first thing to take in to account when using a multiplier reel compared to a fixed spool reel is that you need to learn to cast as smoothly as possible. Jerky casts will cause overruns and crack offs, so slow it right down, think smooth, not savage. Use a grip strip on the rod that can be placed just below the reel seat and then pulled up over the spool of the reel prior to casting. This will help you to grip the spool and prevent potential thumb burn. Contrary to popular belief, an over head style cast is absolutely fine to begin with and will help you to become familiar with how the reel responds. Get your arms up and away from your body, your left arm should be almost straight. When you cast, focus on pulling your left arm in to your chest. It’s natural to want to use your stronger right arm (assuming the caster is right handed) but by using the left arm in this way, the rod is almost totally pivoting at your right hand, meaning that the rod will do the work for you.
Keep an eye on the lead, as when it hits the water, you will again need to tap the spool with your thumb to prevent an overrun.
The reel should be running safely as discussed, but as in the case of any beach casting with heavy leads, a shockleader is crucial to take the strain of the cast. The formula has always been 10lb of shockleader for every ounce of lead cast, but with modern, lower diameter lines, it’s good practice to up the breaking strain further still. An 80lb shockleader is now considered standard, even when 5 or 6oz leads are in use.
Once you have become familiar with your new reel and are confident in its use, you can begin seeking some more distance by tailoring the braking. More line on the spool, less magnetic braking and thinner oil in the bearings can all be explored and it’s a case of finding the right combination to suit your cast. That can be explored further too and although there is no issue in using a smooth and controlled over head cast to start with, progression on to more elaborate casting techniques will ultimately see further yards added to your cast.
Have fun, be patient and as long as your multiplier is set up in the manner described, you’ll soon be loving your new reel!